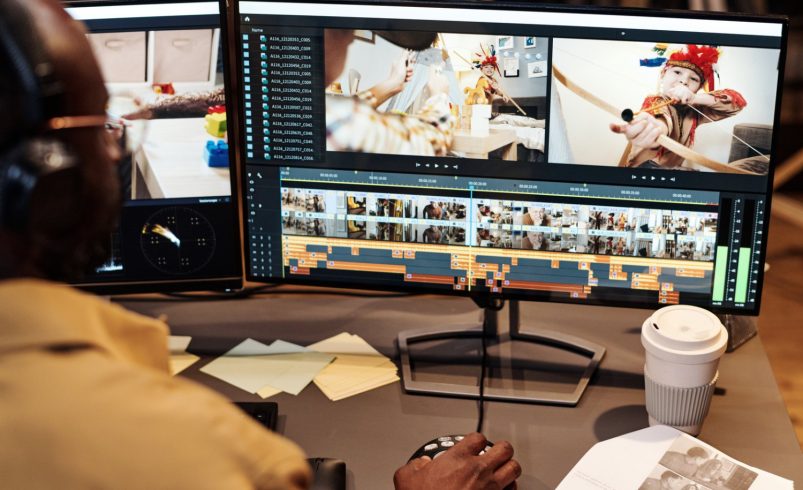
Video production is more than just shooting footage; the real magic happens in post-production. For videographers in Chicago, speed and efficiency in editing can be the difference between meeting deadlines and missing opportunities. A streamlined workflow not only saves time but also ensures a professional, polished result.
This guide covers practical strategies, organizational tips, software techniques, and mindset approaches to make your editing faster, smoother, and more effective.
1. Plan Before You Edit
The foundation of a fast editing workflow starts before you open your software:
- Storyboarding: Map out shots, sequences, and key transitions. A visual guide reduces guesswork during editing.
- Shot Lists: Keep track of each scene, camera angle, and take to avoid hunting for footage.
- Client Notes: Understand expectations for pacing, style, and mood upfront.
- Pre-Visualization: Imagine the final edit; plan for where effects, titles, and graphics will go.
Preparation saves hours of unnecessary edits and revisions.
2. Organize Your Media
A well-organized project is a fast project:
- Bins and Folders: Separate clips by scene, camera, or type (B-roll, interviews, graphics).
- Naming Conventions: Use clear, descriptive names like “Scene01_CU_Interview01” instead of generic numbers.
- Proxy Files: For high-resolution footage, create low-resolution proxies to speed up playback.
- Consistent Formats: Convert all files to consistent codecs and frame rates before starting.
Organized media prevents wasted time searching for clips or dealing with incompatible files.
3. Learn Keyboard Shortcuts
Keyboard shortcuts dramatically increase editing speed:
- Common Tools: V (Selection), C (Razor), B (Ripple Edit), N (Rolling Edit).
- Timeline Navigation: Use J, K, L to play backward, pause, and forward efficiently.
- Custom Shortcuts: Tailor keys for your workflow in Premiere Pro or DaVinci Resolve.
- Shortcut Guides: Keep a printed cheat sheet near your workstation until muscle memory develops.
Shortcuts save minutes on every session, adding up to hours over a project.
4. Create a Rough Cut First
Focus on structure before detail:
- Sequence Order: Arrange clips according to storyboard or script.
- Trim Essentials: Remove unusable footage, pauses, or mistakes early.
- Ignore Effects: Don’t worry about color, audio, or transitions at this stage.
- Mark Key Moments: Use markers for important events or cues for later refinements.
A rough cut provides a framework to layer your edits efficiently.
5. Use Adjustment Layers
Adjustment layers allow global changes without affecting individual clips:
- Color Grading: Apply consistent color correction across multiple clips.
- Effects: Add LUTs, sharpening, or vignettes quickly.
- Flexibility: Modify or remove changes without touching original clips.
- Efficiency: Saves time when applying repeated adjustments across a timeline.
Adjustment layers streamline repetitive editing tasks.
6. Organize Your Timeline
A clean timeline is faster to work with:
- Separate Tracks: Keep dialogue, music, effects, and B-roll on different layers.
- Label Clips: Use colors or markers to identify scenes or important shots.
- Collapse Unused Tracks: Reduce visual clutter.
- Consistent Track Naming: Helps when working in team projects.
An organized timeline reduces errors and speeds up edits.
7. Optimize Playback Performance
Laggy playback slows workflow:
- Render Previews: Generate preview files for complex sequences.
- Lower Playback Resolution: Use 1/2 or 1/4 resolution for faster scrubbing.
- Proxy Editing: Work with low-res files and switch to full-res for final render.
- Hardware Acceleration: Enable GPU acceleration for real-time effects.
Smooth playback lets you focus on creative decisions rather than technical frustration.
8. Batch Editing
Editing in batches saves time:
- Apply Effects Globally: Use adjustment layers or nested sequences for multiple clips.
- Audio Adjustments: Normalize, compress, or EQ entire tracks at once.
- Color Correction: Match shots in batches rather than individually.
- Templates: Reuse previously created motion graphics or title templates.
Batching reduces repetitive work and ensures consistency across the project.
9. Use Markers and Labels
Markers help navigate complex sequences quickly:
- Scene Markers: Identify key sections for easy jumps.
- Notes and Comments: Add reminders for effects, transitions, or client revisions.
- Color Labels: Assign different colors to clip types (interview, B-roll, graphics).
- Timeline Reference: Quickly locate moments without scanning frame by frame.
Markers and labels save minutes that accumulate into significant time savings.
10. Pre-Set Effects and Templates
Premade assets speed up production:
- Transitions: Use prebuilt dissolves, wipes, and other transitions.
- Titles and Lower Thirds: Motion graphics templates (MOGRTs) for consistency.
- Presets: Store favorite effects, color grades, and audio settings for reuse.
- Custom Templates: Build templates tailored to your brand or client needs.
Templates allow rapid application without sacrificing quality.
11. Multi-Camera Editing
For events, weddings, or concerts:
- Sync Clips: Align multiple camera angles using audio or timecode.
- Multi-Cam View: Switch angles in real time for faster cutting.
- Angle Adjustments: Fine-tune individual camera exposure, color, or audio.
- Nested Sequences: Keep multi-camera edits manageable.
Multi-camera tools reduce manual switching and enhance efficiency.
12. Efficient Audio Workflow
Audio can make or break your final video:
- Separate Tracks: Keep dialogue, music, and effects distinct.
- Normalize Levels: Ensure consistent volume across clips.
- Batch Effects: Apply EQ, compression, or noise reduction to entire tracks.
- Preview in Context: Listen while scrubbing to catch issues early.
Fast audio workflow ensures professional-quality sound without unnecessary repetition.
13. Color Grading Workflow
Integrate color grading efficiently:
- Primary Correction First: Balance exposure and white balance before creative grading.
- Use Adjustment Layers: Apply LUTs or filters globally.
- Shot Matching: Ensure consistency across multiple shots in the same scene.
- Save Grades: Store your favorite grading setups for reuse in future projects.
Structured grading reduces trial-and-error and accelerates creative decisions.
14. Keep Software Updated
Software updates often improve speed and performance:
- Bug Fixes: Avoid crashes and glitches that waste time.
- New Features: Use updated tools for faster editing and creative options.
- Stability: Optimized updates reduce render times and playback lag.
- Compatibility: Ensure smooth integration with plugins, LUTs, and assets.
Running the latest version improves workflow efficiency.
15. Keyboard and Workflow Automation
Automating repetitive tasks speeds up editing:
- Custom Shortcuts: Map frequently used commands.
- Macros: Automate sequences like import, proxy creation, or render.
- Third-Party Tools: Plugins or scripts for batch effects or titling.
- Time-Saving Techniques: Automate repetitive tasks instead of manual execution.
Automation lets you focus on creativity rather than menial tasks.
16. Use Proxy Workflow for High-Resolution Footage
High-resolution footage can slow your system:
- Generate Proxies: Edit with lower-resolution versions.
- Relink to Full-Res: Switch to full-quality files before final render.
- Real-Time Playback: Avoid lagging or freezing while scrubbing timeline.
- Maintain Quality: Full-res render ensures no loss in final output.
Proxy editing speeds up workflow while maintaining high-quality results.
17. Maintain a Clean Workspace
Cluttered workspaces slow down efficiency:
- Custom Layouts: Arrange panels according to personal workflow.
- Hide Unused Panels: Focus on the tools you use most.
- Clean Media Pool: Remove unused assets from project.
- Organized Storage: Keep footage and project files in structured folders.
A clean workspace reduces confusion and improves productivity.
18. Collaboration Tips
Working with teams requires coordination:
- Shared Projects: Premiere Pro or DaVinci Resolve allows multiple editors on the same project.
- Version Control: Save iterative versions to track progress.
- Clear File Naming: Avoid confusion when collaborating on sequences or media.
- Cloud Storage: Sync files for remote collaboration.
Collaborative efficiency reduces delays and ensures consistency.
19. Backup Frequently
Never underestimate the importance of backups:
- Local Backup: Keep copies of all media and project files on separate drives.
- Cloud Backup: Protect against drive failure.
- Incremental Saves: Save versions at major milestones.
- Autosave: Enable autosave to prevent loss from unexpected crashes.
Reliable backups prevent lost time and frustration during editing.
20. Conclusion
Fast video production is a combination of preparation, organization, smart software use, and efficient workflow habits. For Chicago-based videographers, mastering these workflow tips—planning, organizing media, batch editing, proxies, shortcuts, and automation—ensures deadlines are met without sacrificing quality.
By integrating these strategies, editors can handle complex projects, maintain professional quality, and free up more time for creative exploration. A faster workflow ultimately allows you to produce better videos, deliver on time, and grow your videography business efficiently.