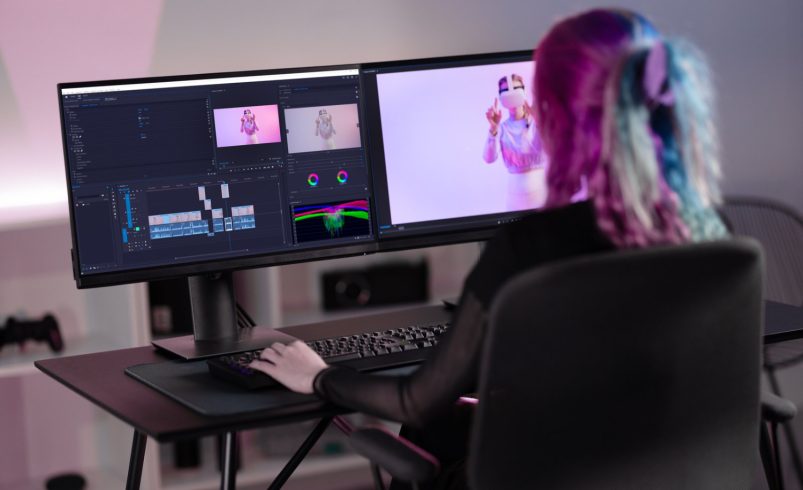
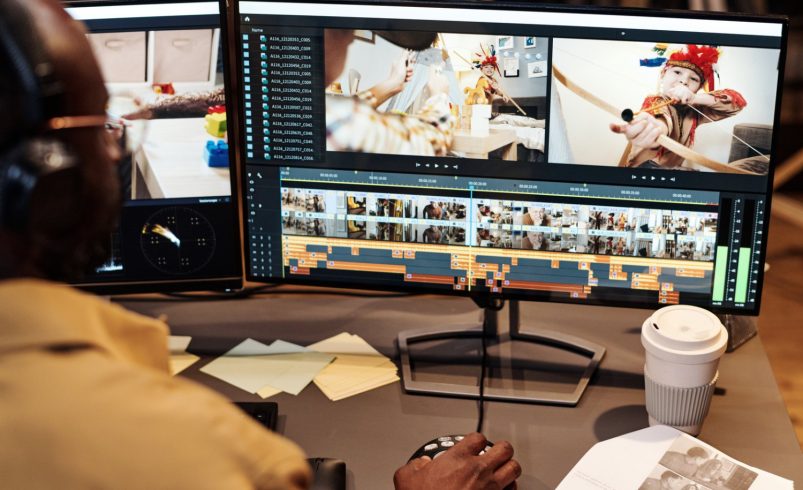
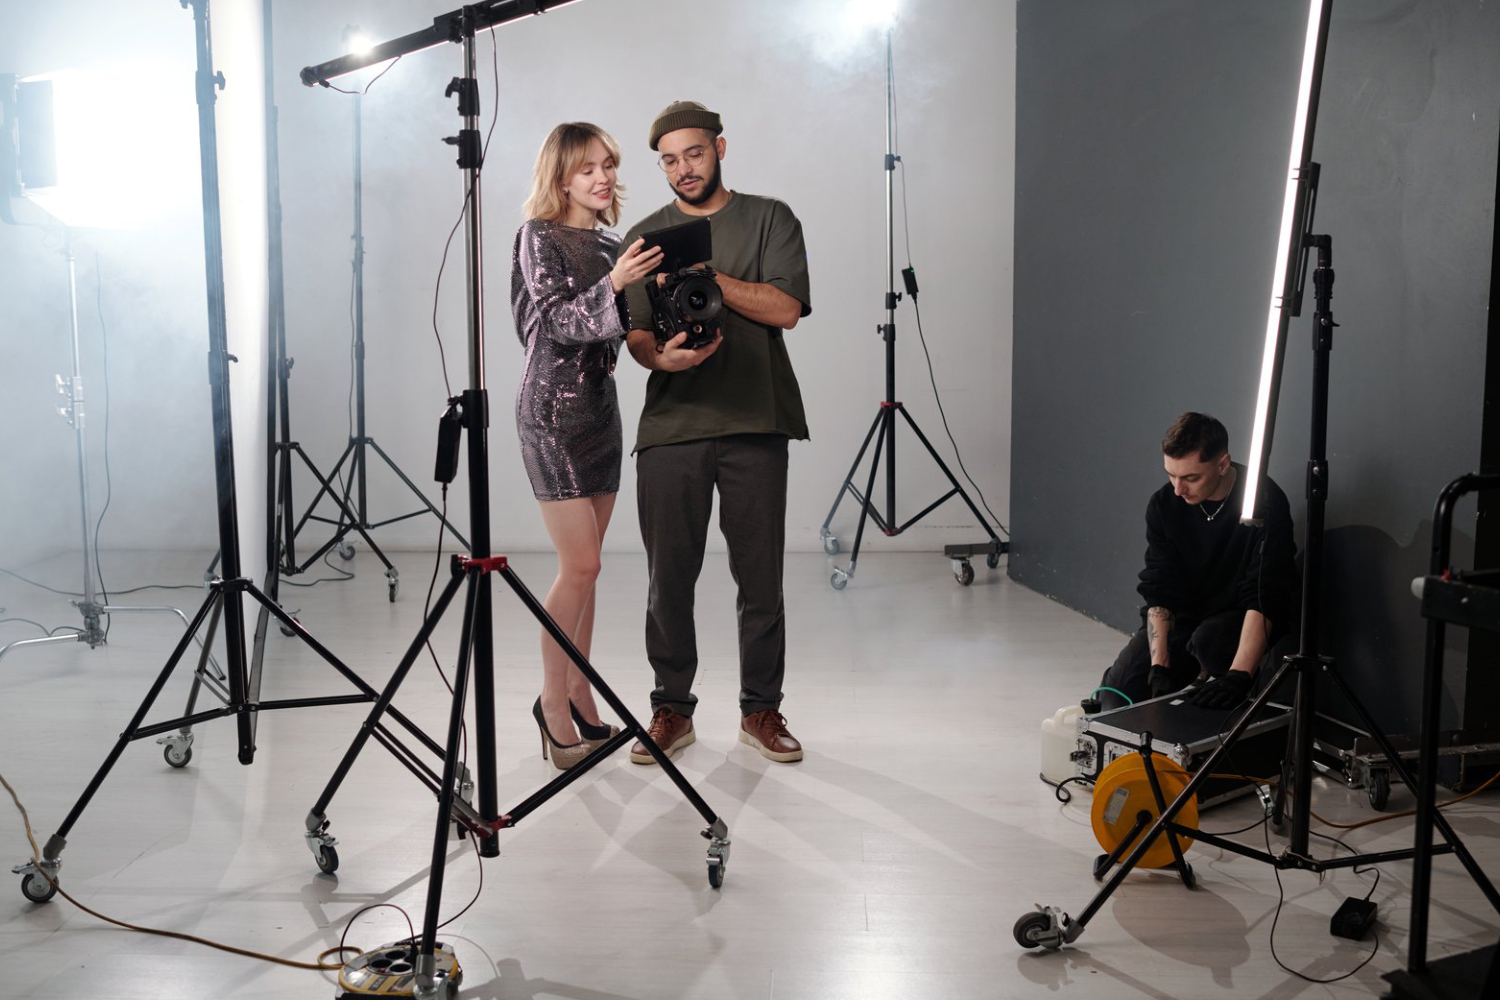
Color grading is one of the most transformative aspects of video post-production. While editing organizes your footage, color grading brings it to life by shaping mood, enhancing storytelling, and creating a cinematic feel. For videographers in Chicago, mastering DaVinci Resolve—the industry-standard color grading software—can significantly elevate your work.
This guide covers everything a beginner needs to know: from understanding color theory, working with DaVinci Resolve’s interface, correcting footage, to applying creative looks.
1. What is Color Grading?
Color grading involves adjusting the colors, contrast, and brightness of your footage to achieve a specific visual style. There are two key components:
- Color Correction: Balancing colors to achieve accurate representation of the scene, fixing exposure or white balance issues.
- Creative Grading: Enhancing or stylizing footage to convey mood, emotion, or artistic intent.
Together, they ensure your videos look professional, cinematic, and emotionally engaging.
2. Understanding Color Theory
Basic knowledge of color theory is essential:
- Primary Colors: Red, green, and blue (RGB) are used in digital video.
- Complementary Colors: Opposite colors on the color wheel (e.g., blue and orange) create contrast and visual interest.
- Warm vs Cool Tones: Warm tones evoke comfort and intimacy; cool tones create tension, calmness, or modernity.
Applying color theory allows you to make deliberate choices that enhance storytelling.
3. DaVinci Resolve Interface Overview
Familiarity with the interface speeds up workflow:
- Media Page: Import and organize your footage.
- Cut Page: Quick edits and rough cuts.
- Edit Page: Timeline-based editing with trimming and layering capabilities.
- Color Page: Primary area for color correction and grading.
- Fairlight: Audio editing and mixing.
- Deliver: Export your graded footage in desired formats.
Navigating these pages efficiently ensures a smooth grading process.
4. Importing and Organizing Footage
A clean media workflow is crucial:
- Import Clips: Drag footage into the Media Pool.
- Create Bins: Organize by scene, camera, or location.
- Sync Audio: Match video and audio tracks for consistent editing.
- Proxy Files: For 4K or high-resolution footage, use proxies to speed up grading.
Proper organization saves time and avoids confusion during grading.
5. Basic Color Correction
Before applying creative looks, ensure footage is balanced:
- Exposure Adjustment: Correct brightness and contrast using the Lift, Gamma, and Gain wheels.
- White Balance: Adjust temperature and tint for neutral, natural colors.
- Saturation: Increase or decrease color intensity to maintain realistic tones.
- Scopes: Use waveform, vectorscope, and histogram to verify accurate exposure and color balance.
This foundation prevents issues when applying stylized grading later.
6. Primary Color Grading Tools
DaVinci Resolve offers powerful tools for beginners:
- Color Wheels: Control shadows (Lift), midtones (Gamma), and highlights (Gain).
- Curves: Fine-tune contrast, color channels, and luma levels.
- Color Match: Automatic correction using color charts to standardize footage.
- Nodes: Each adjustment can be applied in separate nodes for flexible and non-destructive grading.
These tools provide precise control over the visual output.
7. Secondary Color Correction
Secondary correction targets specific colors or areas:
- Qualifier Tool: Isolate a color or object for selective adjustments.
- Power Windows: Apply effects to defined areas of the frame.
- Tracking: Follow moving objects with corrections applied dynamically.
- Hue vs Saturation Curves: Adjust specific colors without affecting the entire image.
Secondary correction allows creative control and precise enhancements.
8. Creating Mood with Color Grading
Color grading communicates emotion:
- Warm and Inviting: Increase reds and yellows for intimate or nostalgic scenes.
- Cool and Tense: Boost blues and greens for dramatic, suspenseful, or modern settings.
- Cinematic Teal-Orange Look: Popular in films for skin tone clarity and vibrant contrast.
- Black & White: Monochrome grading adds timeless, artistic, or dramatic impact.
Deliberate grading choices enhance storytelling beyond visuals alone.
9. Working with LUTs
LUTs (Look-Up Tables) are pre-defined color settings:
- Creative LUTs: Quickly apply cinematic styles to footage.
- Technical LUTs: Convert log footage to Rec.709 for standard viewing.
- Customization: Adjust intensity of LUTs to avoid over-saturation or unrealistic looks.
LUTs save time while providing professional-grade visual aesthetics.
10. Balancing Multiple Shots
Consistency is key across scenes:
- Reference Monitor: Compare shots to maintain uniformity.
- Shot Matching: Adjust color and exposure to ensure continuity.
- Use Adjustment Nodes: Apply global corrections across multiple shots efficiently.
Balanced shots create a seamless viewing experience and professional output.
11. Advanced Node Techniques
Nodes are essential for complex color work:
- Serial Nodes: Apply corrections sequentially.
- Parallel Nodes: Compare different color adjustments simultaneously.
- Layer Nodes: Blend multiple corrections for sophisticated effects.
- Corrective vs Creative Nodes: Separate technical fixes from stylistic choices.
Nodes provide flexibility, non-destructive editing, and easy experimentation.
12. Working with Shadows and Highlights
Manipulating shadows and highlights enhances cinematic depth:
- Shadow Recovery: Bring back details in underexposed areas.
- Highlight Control: Prevent blown-out areas in bright footage.
- Contrast Adjustment: Maintain separation between darks and lights for dimensionality.
- Vignettes: Subtly darken edges to focus viewer attention.
Properly balancing light and dark areas creates immersive visuals.
13. Enhancing Skin Tones
For interviews or portraits, natural skin tones are critical:
- Hue vs Hue Curves: Adjust skin colors selectively.
- Saturation Control: Avoid over-saturation for realistic tones.
- Softening Shadows: Maintain facial details while creating flattering light.
- Use Scopes: Check vectorscope for accurate skin tone representation.
Good skin tone grading elevates professional credibility.
14. Color Grading for Night and Low-Light Footage
Nighttime shots require special attention:
- Noise Reduction: Remove grain while preserving details.
- Exposure Boost: Increase visibility without washing out colors.
- Cool Tones: Blueish hues often enhance nighttime cityscapes.
- Practical Lights Integration: Blend ambient lighting for natural results.
Proper night grading maintains clarity while enhancing mood.
15. Using Masks and Tracking
Isolate subjects for dynamic adjustments:
- Power Windows: Circle, square, or custom shapes to isolate areas.
- Tracking: Keep corrections aligned with moving subjects.
- Selective Color Adjustment: Emphasize or mute areas without affecting the whole frame.
These techniques create professional-level cinematic effects.
16. Working with Log Footage
Many cameras record in log for maximum dynamic range:
- Color Space Conversion: Convert log to Rec.709 for standard viewing.
- Exposure Adjustments: Bring out midtones and highlights for natural look.
- Creative Grading: Apply LUTs or manual color adjustments for cinematic aesthetics.
Understanding log workflow allows full control of high-end footage.
17. Adding Film Emulation
Film emulation adds texture and cinematic style:
- Film LUTs: Replicate classic film stocks.
- Grain Overlay: Introduce subtle noise for authentic film feel.
- Contrast and Saturation: Adjust to match desired film characteristics.
- Creative Blending: Combine multiple adjustments for personalized style.
Film emulation adds a professional, artistic touch to digital footage.
18. Exporting Graded Footage
Exporting maintains quality and platform compatibility:
- Format Selection: H.264 for online, ProRes or DNxHD for professional delivery.
- Resolution and Frame Rate: Match original footage unless specific requirements exist.
- Bitrate Optimization: Balance quality and file size.
- Render Queue: Use to export multiple sequences efficiently.
Proper export ensures your graded videos appear as intended across platforms.
19. Workflow Tips for Chicago Videographers
Chicago offers diverse filming environments:
- City Skyline Shots: Grade for contrast and clarity in daylight or twilight.
- Event Coverage: Adjust grading to match lighting conditions across venues.
- Indoor Studios: Controlled light simplifies grading; still, check white balance.
- Seasonal Adjustments: Snow, fog, or autumn foliage may require color tweaks for consistency.
Tailoring grading to local environments ensures polished, professional results.
20. Conclusion
Color grading in DaVinci Resolve is both technical and creative. By mastering basic color correction, advanced node workflows, LUT application, and aesthetic grading principles, videographers in Chicago can produce professional, cinematic footage.
With practice, experimentation, and attention to detail, beginners can transform raw clips into emotionally resonant, visually stunning videos. Whether working on corporate projects, social media content, cinematic films, or weddings, color grading is a skill that elevates every production.