Introduction to Color Grading for Cinematic Videos
- April 6, 2026
- 0
Color grading is one of the most powerful tools in a videographer’s arsenal. Beyond simply correcting exposure or white balance, it sets the mood, enhances storytelling, and gives






Color grading is one of the most powerful tools in a videographer’s arsenal. Beyond simply correcting exposure or white balance, it sets the mood, enhances storytelling, and gives

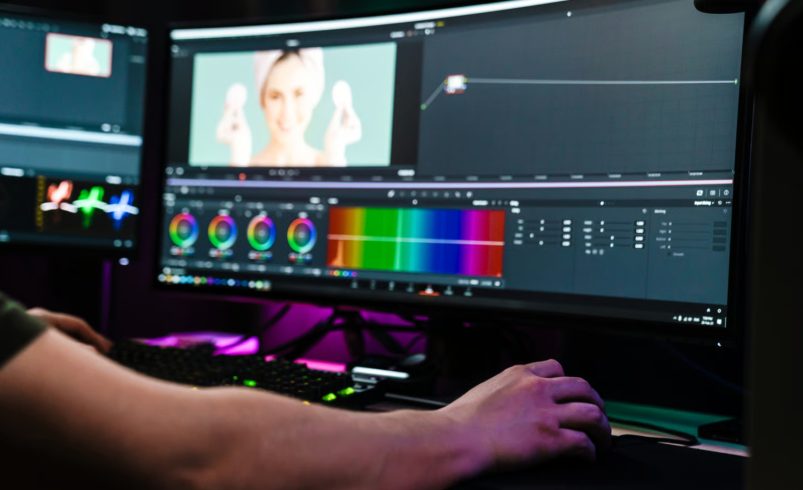
Color grading is one of the most powerful tools in a videographer’s arsenal. Beyond simply correcting exposure or white balance, it sets the mood, enhances storytelling, and gives videos a cinematic look. Whether you’re filming in Chicago’s bustling streets, parks, or waterfronts, mastering color grading elevates your footage from ordinary to visually stunning.
Example: Correcting an overexposed Chicago skyline ensures true-to-life colors, while grading can give the footage a warm sunset feel or a cool, dramatic tone.
Colors influence perception and emotion:
Example: A Chicago documentary about Lake Michigan at sunrise uses warm tones to evoke hope and serenity.
LUTs are pre-designed color presets that give a consistent cinematic look.
Tips:
Example: Using a cinematic LUT for a Chicago street vlog instantly adds a professional film-like quality.
Example: Boosting the orange hues in autumn foliage at Chicago’s Lincoln Park while leaving other colors natural enhances visual storytelling.
Color wheels and curves allow precise control over shadows, midtones, and highlights.
Tips:
Example: Highlighting the golden sunlight on Chicago’s waterfront while keeping shadows natural improves cinematic depth.
Consistency is crucial when editing multi-scene projects:
Example: Matching indoor café shots with outdoor street shots in Chicago ensures a cohesive visual experience for viewers.
Overgrading can make footage look unnatural:
Example: A Chicago music video retains its cinematic look without turning the cityscape neon or artificial.
Color grading transforms your videos, turning raw footage into compelling cinematic experiences. By understanding color theory, using LUTs, applying primary and secondary adjustments, and maintaining consistency, you can enhance mood, storytelling, and visual appeal. Whether you’re creating vlogs, documentaries, or cinematic projects in Chicago, mastering color grading ensures your videos stand out professionally and captivate your audience.