Shooting in low-light environments is one of the biggest challenges videographers face, yet mastering it can transform your work into visually stunning, cinematic footage. For videographers in Chicago, understanding how to handle low-light conditions is essential for events, night cityscapes, concerts, and indoor shoots.
This guide provides in-depth strategies, techniques, and tools for capturing professional-quality videos in low-light settings, from camera settings to lighting solutions and post-production adjustments.
1. Understand the Challenges of Low-Light Filming
Low-light filming introduces several challenges:
- Noise: High ISO settings often introduce grain or digital noise.
- Focus Issues: Cameras may struggle to focus accurately in dim conditions.
- Motion Blur: Slower shutter speeds can cause unwanted blur in moving subjects.
- Color Accuracy: Low light can affect color reproduction and white balance.
Acknowledging these challenges upfront allows you to plan and mitigate them effectively.
2. Use Fast Lenses with Wide Apertures
The lens you choose is critical for low-light shooting:
- Wide Aperture Lenses (f/1.2–f/2.8): Allow maximum light to enter, maintaining exposure without pushing ISO too high.
- Prime Lenses: Often faster and sharper than zoom lenses, making them ideal for dimly lit conditions.
For example, shooting a concert at Chicago Theatre, a fast prime lens allows you to capture performers in dramatic lighting without introducing excessive noise.
3. Optimize ISO Settings Carefully
ISO controls your camera sensor’s sensitivity to light:
- Low ISO: Clean image but requires more light.
- High ISO: Brighter image but increases noise.
- Best Practice: Increase ISO only as needed and balance with aperture and shutter speed.
Modern cameras handle high ISO better, but understanding your camera’s noise limits ensures clean footage.
4. Adjust Shutter Speed Strategically
Shutter speed impacts both exposure and motion blur:
- Rule of Thumb: Use a shutter speed roughly double your frame rate (e.g., 1/50 for 24fps) for natural motion.
- Slower Shutter: Captures more light but may cause blur on moving subjects.
- Faster Shutter: Reduces blur but requires more light or higher ISO.
Balancing shutter speed is key to maintaining clarity without sacrificing exposure.
5. Optimize Aperture for Depth of Field
A wide aperture not only lets in more light but also creates artistic effects:
- Shallow Depth of Field: Isolates your subject, ideal for interviews or concerts.
- Deep Depth of Field: Retains detail in the background, useful for cityscapes or architectural footage.
Adjust aperture according to your creative and technical needs while maintaining sufficient exposure.
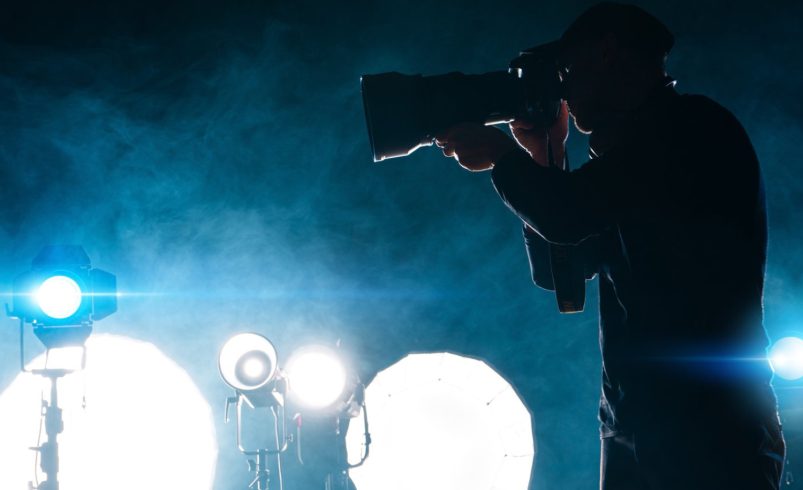
6. Utilize External Lighting Solutions
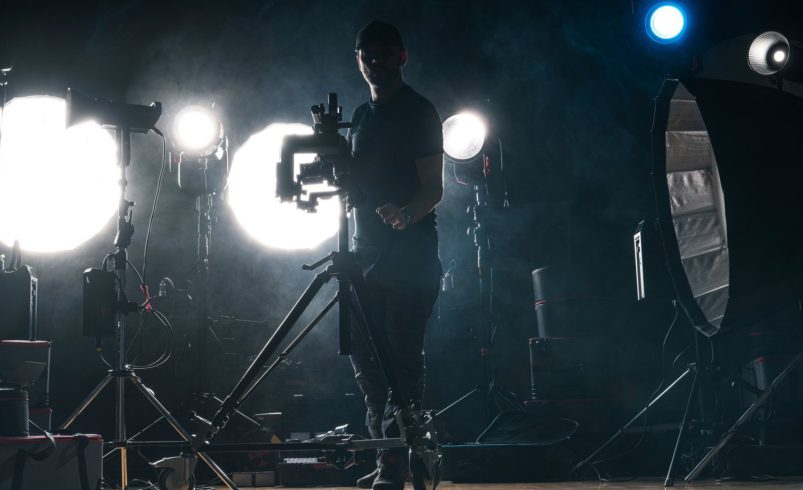
Even in low-light environments, supplemental lighting can improve footage dramatically:
- LED Panels: Portable, adjustable, and battery-powered, ideal for on-location shoots.
- Ring Lights: Useful for interviews or small setups.
- Practical Lights: Use existing lights like lamps, streetlights, or signage strategically.
Layering artificial light can enhance the mood without overpowering natural low-light conditions.
7. Use Stabilization Tools
Low-light shooting often requires slower shutter speeds, making stabilization crucial:
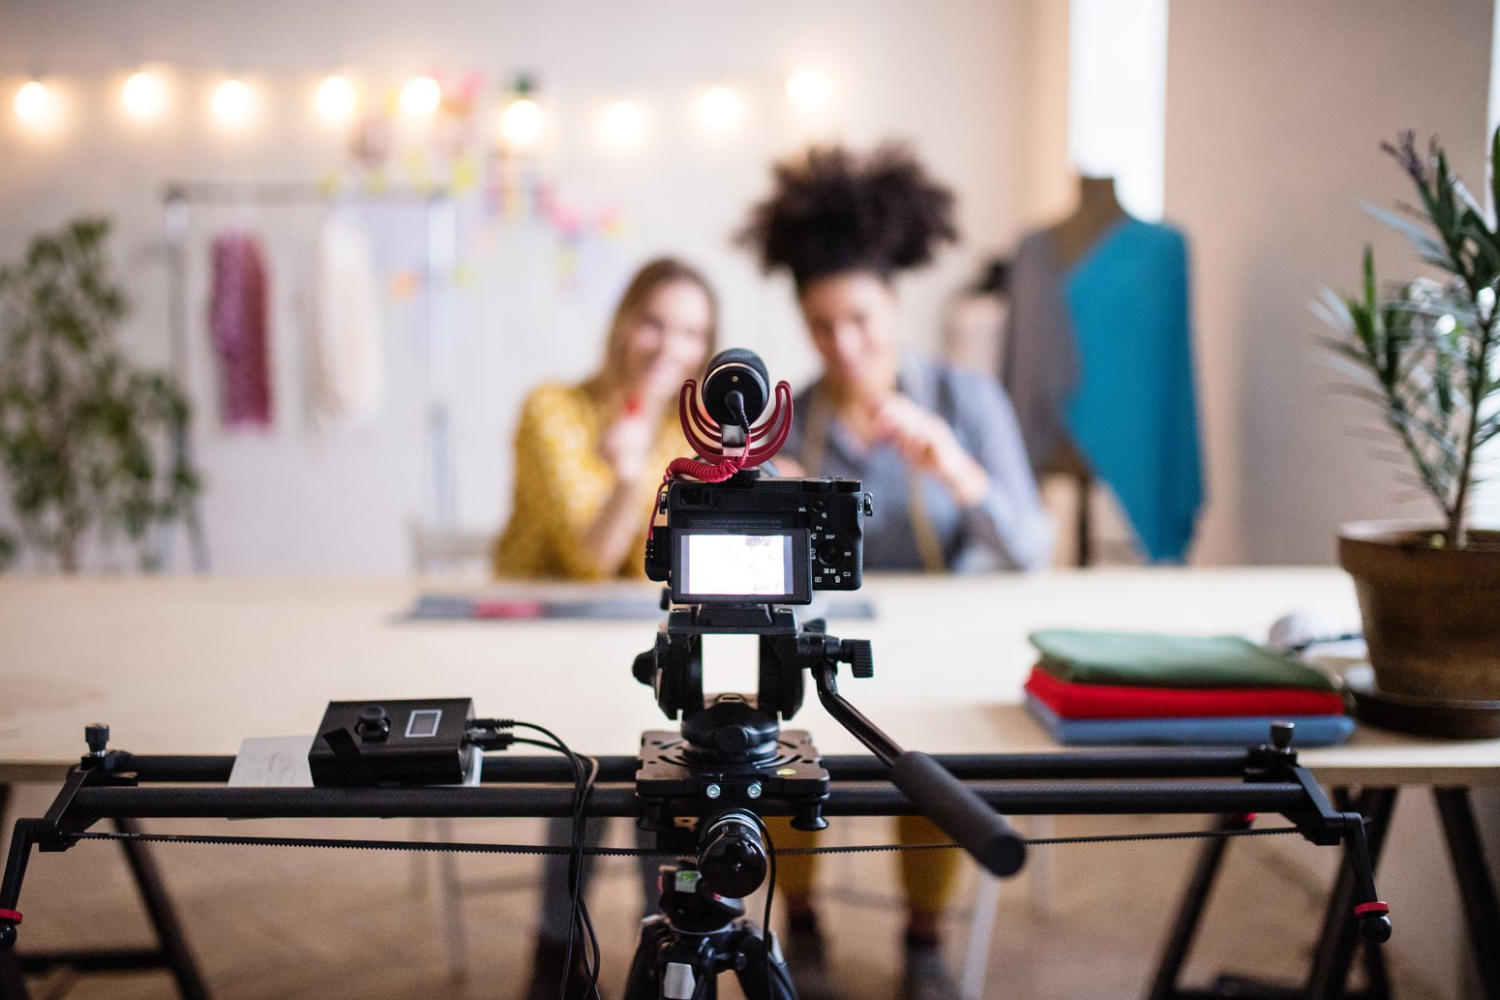
- Tripods: Essential for static shots in dim settings.
- Gimbals: Smooth handheld motion without introducing blur.
- Monopods: Offer flexibility with moderate stabilization for events or street filming.
Stable footage ensures clarity and professionalism even when lighting is limited.
8. Focus Techniques in Low Light
Cameras can struggle to autofocus in dark conditions:
- Manual Focus: Use peaking tools to ensure sharpness on key subjects.
- Focus Assist Lights: Small, portable lights can help the camera lock focus without affecting the scene.
- Pre-Focus: Set focus in a well-lit condition and maintain it if the subject distance is consistent.
Effective focusing prevents soft, unusable footage.
9. Shoot in RAW or LOG Formats
Recording in RAW or LOG provides greater flexibility in post-production:
- RAW Footage: Captures maximum detail and dynamic range.
- LOG Profiles: Flattened color profiles that retain shadow and highlight detail.
- Post-Production Benefits: Easier noise reduction, color grading, and exposure adjustment.
These formats are invaluable for low-light projects, especially night cityscapes or concerts.
10. Utilize Noise Reduction Tools
Noise is the biggest enemy in low-light footage:
- In-Camera Noise Reduction: Some cameras offer low-light modes.
- Post-Production Software: Programs like DaVinci Resolve or Adobe Premiere Pro can reduce grain while preserving detail.
- ISO Management: Keeping ISO as low as possible minimizes the need for heavy noise reduction.
A clean, noise-free image elevates your low-light work to a professional standard.
11. Use Color Temperature Strategically
Low light often introduces mixed lighting or color casts:
- White Balance Adjustment: Match your camera to the dominant light source (tungsten, daylight, fluorescent).
- Color Grading: Fine-tune shadows and highlights to maintain natural tones.
- Creative Choices: Slight warm or cool tones can set a mood appropriate for your story.
Managing color ensures visual consistency and cinematic appeal.
12. Incorporate Movement and Camera Angles
Creative camera angles and movement improve low-light visuals:
- Tracking Shots: Follow subjects under limited light with stabilized gear.
- High/Low Angles: Use urban lights or architecture to frame subjects creatively.
- Slow Push or Pull Shots: Combine with wide apertures for dramatic storytelling.
Movement adds life to otherwise static, dimly lit scenes.
13. Leverage Available Light Sources
Cityscapes, night events, and indoor locations often have ambient lighting:
- Streetlights and Neon Signs: Can provide dramatic highlights and color contrasts.
- Practical Lights in Rooms: Lamps, TVs, or signage can act as cinematic lighting.
- Reflection and Bounce: Use walls, mirrors, or surfaces to spread and soften available light.
Learning to use existing light creatively reduces the need for bulky lighting equipment.
14. Plan Your Shots Ahead
Low-light filming requires careful planning:
- Scout Locations: Identify light sources and potential obstacles.
- Previsualize Angles: Determine how you will frame and move around the subject.
- Rehearse Timing: Minimize reshoots to avoid noise accumulation from high ISO adjustments.
Preparation ensures efficiency and higher-quality results in challenging lighting conditions.
15. Practical Examples for Chicago Videographers
Chicago offers a variety of low-light filming opportunities:
- Night Cityscapes: Capture the skyline, Navy Pier lights, or bridges with slow shutter and stabilization.
- Concerts and Events: Use fast lenses and external LED lights for live events at venues like Chicago Theatre.
- Indoor Lifestyle Shoots: Apartments, restaurants, or cafes provide ambient lighting to enhance mood.
Each scenario benefits from applying the techniques outlined in this guide.
16. Combine Technical and Creative Approaches
Shooting in low light isn’t just technical; it’s artistic:
- Use shallow depth of field for intimacy and focus.
- Utilize color temperature and practical lights for mood.
- Experiment with angles, movement, and focal lengths for storytelling.
Balancing technical mastery with creative vision results in footage that’s both professional and visually compelling.
17. Post-Production Tips for Low-Light Footage
Even with perfect shooting, post-production enhances low-light videos:
- Color Grading: Adjust shadows, highlights, and midtones to restore balance.
- Noise Reduction: Apply subtle denoising to maintain detail without over-softening.
- Sharpening and Contrast: Compensate for softness caused by high ISO or low-light conditions.
Post-processing completes the transformation from raw footage to cinematic quality.
18. Common Mistakes to Avoid
Avoid these pitfalls when shooting in low light:
- Overusing ISO: Leads to excessive noise.
- Ignoring Focus: Soft footage is difficult to salvage.
- Neglecting Composition: Poor framing diminishes the impact of well-exposed footage.
- Relying Solely on Artificial Light: Use a mix of ambient and supplemental light for realism.
Being mindful of these mistakes improves consistency and professionalism.
19. Tools to Enhance Low-Light Shooting
Investing in the right gear makes low-light filming manageable:
- Fast Prime Lenses: Capture light efficiently.
- External LED Panels and Diffusers: Add control and flexibility.
- Gimbals or Tripods: Stabilize slow shutter or handheld shots.
- Audio Equipment: Low-light often comes with ambient noise; clean audio is crucial.
The right combination of tools and technique ensures success in challenging lighting.
20. Final Thoughts
Low-light videography requires skill, patience, and creativity. By combining proper camera settings, stabilization, external and ambient lighting, and post-production techniques, videographers in Chicago can produce visually stunning videos in any dim environment.
Whether shooting night cityscapes, indoor interviews, or live events, mastering low-light techniques expands your creative possibilities and elevates your professional portfolio. Practice, experimentation, and careful planning will make shooting in low light not just manageable but an opportunity to create visually captivating stories.