Recording audio outdoors presents unique challenges for videographers. Ambient noise, wind, and unpredictable environmental conditions can degrade dialogue and sound quality. However, with the right setup, microphones, and techniques, you can capture professional, clear audio even in busy outdoor locations.
This guide explains how to set up audio equipment for outdoor shoots in 2026, covering microphone selection, placement, wind protection, monitoring, and best practices to achieve crisp, cinematic sound.
1. Planning for Outdoor Audio Recording
1.1 Assess the Environment
- Identify potential sources of noise: traffic, construction, crowds, wind, or water.
- Example: Filming along Chicago’s Lakefront Trail may require wind protection and directional mics to reduce ambient city noise.
- Choose locations where you can minimize unwanted sounds without compromising visual composition.
1.2 Define Audio Requirements
- Decide whether the shoot requires dialogue, ambient sound, or both.
- Consider if multiple subjects will speak simultaneously, which affects mic placement and selection.
1.3 Scout Locations & Test Audio
- Conduct a pre-shoot test to check background noise and acoustics.
- Helps identify optimal mic placement and gain settings.
2. Choosing the Right Microphone for Outdoor Shoots
2.1 Shotgun Microphones
- Highly directional, ideal for isolating dialogue from ambient noise.
- Example: Rode NTG5 or Sennheiser MKE 600 for city streets or park settings.
2.2 Lavalier Microphones
- Clip-on wireless systems like Sennheiser EW 112P G4 provide hands-free recording for moving subjects.
- Useful for interviews or live-action shoots where mobility is essential.
2.3 Handheld Dynamic Microphones
- Durable and resistant to wind noise; suitable for on-the-go interviews or reporting.
- Example: Shure SM58 for outdoor press coverage or events.
2.4 Consider Microphone Features
- Low self-noise: essential to avoid amplification of unwanted sounds.
- Polar patterns: cardioid or supercardioid mics reduce background noise.
- Connectivity: XLR for professional recorders; wireless for mobile setups.
3. Wind Protection Techniques
3.1 Windscreens & Deadcats
- Foam windscreens protect against light wind.
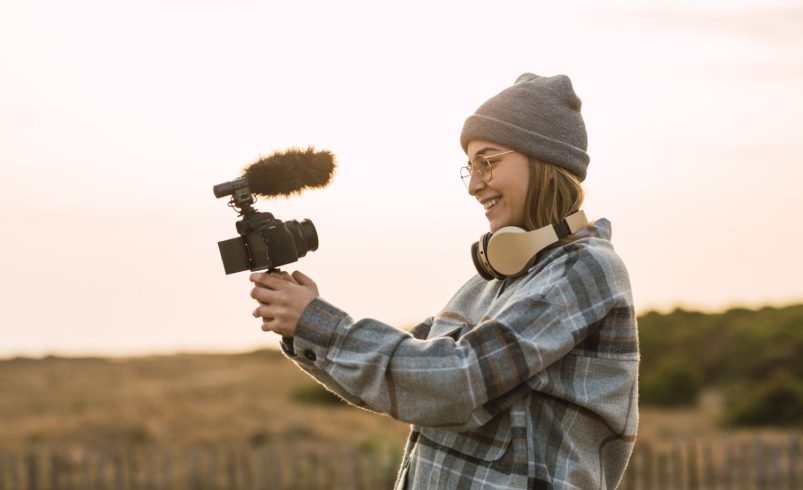
- Furry “deadcat” covers are essential for stronger gusts.
- Always match wind protection to mic type and size.
3.2 Strategic Placement
- Position mics behind obstacles like walls or shrubs to reduce wind exposure.
- Avoid pointing the mic directly into the wind.
3.3 Shielding & Barriers
- Use portable acoustic shields or reflectors to reduce wind and environmental noise.
- Creates cleaner recordings in open spaces.
4. Microphone Placement Tips
4.1 Shotgun Mic Placement
- Place 6–12 inches above or below the mouth, angled slightly downward.
- Keep mic out of the camera frame using a boom pole or flexible arm.
4.2 Lavalier Placement
- Clip near the chest or collar, away from clothing that may rustle.
- Hide cables and packs under clothing to reduce handling noise.
4.3 Multi-Person Shoots
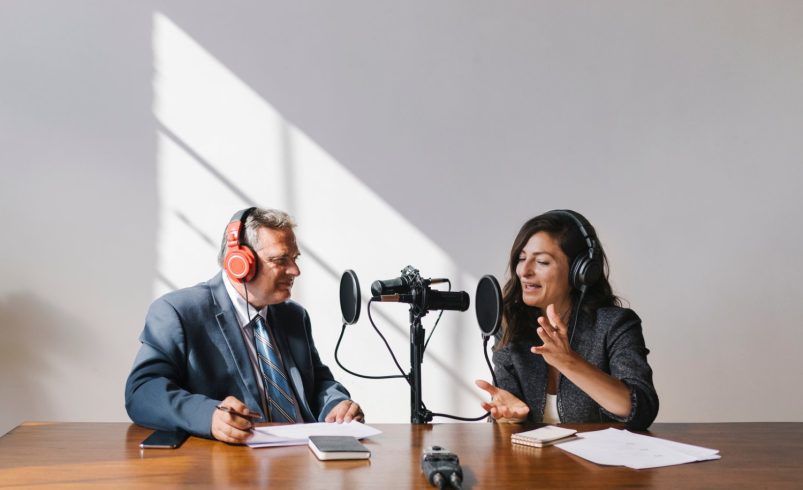
- Use multiple mics to capture each subject clearly.
- Ensure microphones are synced with the camera or external recorder.
4.4 Distance Considerations
- Maintain consistent distance to avoid volume fluctuations.
- Avoid extremes: too far reduces clarity; too close increases plosives.
5. Audio Equipment Setup for Outdoor Shoots
5.1 Using Field Recorders
- Devices like Zoom H5 or H6 offer multiple XLR inputs and high-quality preamps.
- Connect shotgun or lav mics directly for independent audio tracks.
5.2 Wireless Transmitters
- Lavalier systems require pairing transmitters with receivers.
- Monitor signal range to avoid dropouts during the shoot.
5.3 Camera Integration
- Connect audio directly to the camera via XLR or 3.5mm input.
- Use external recorders as backup to ensure redundancy.
5.4 Power Management
- Ensure batteries are fully charged for mics, wireless transmitters, and recorders.
- Carry spare batteries for longer outdoor sessions.
6. Monitoring and Adjusting Audio
6.1 Headphone Monitoring
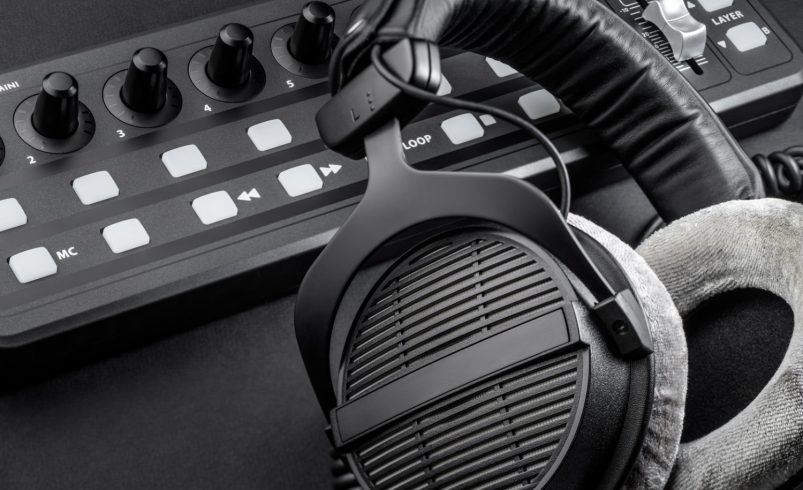
- Use closed-back headphones to monitor live audio.
- Detect unwanted noise, distortion, or clipping immediately.
6.2 Gain Levels
- Set gain to capture clear dialogue without peaking.
- Avoid auto-gain features; manual control gives consistent results.
6.3 Real-Time Adjustments
- Adjust mic position or orientation if wind or ambient noise changes.
- Move closer to the subject or add temporary shielding if necessary.
7. Reducing Environmental Noise
7.1 Select Optimal Angles
- Position microphones to block city sounds, traffic, or reflections from buildings.
7.2 Use Directional Microphones
- Shotgun mics capture sound from a narrow area, rejecting unwanted noise from sides and rear.
7.3 Time-of-Day Planning
- Early mornings or late evenings reduce traffic and pedestrian noise.
- Natural ambient sounds like birds or water can enhance recordings if managed well.
8. Post-Production Tips for Outdoor Audio
8.1 Noise Reduction
- Tools like Adobe Audition or iZotope RX remove consistent hums or wind noise.
- Avoid overprocessing to maintain natural sound.
8.2 EQ & Compression
- Boost midrange frequencies to enhance vocal clarity.
- Gentle compression balances dynamic range between soft and loud dialogue.
8.3 Syncing & Layering
- Always sync external audio with video.
- Layer ambient sounds to create depth without overpowering dialogue.
8.4 Sound Effects & Ambience
- Add natural outdoor sounds for realism if original recording is too clean.
- Example: Chicago river sounds, traffic hum, or park ambiance.
9. Recommended Gear List for Outdoor Shoots
- Shotgun Mic: Rode NTG5, Sennheiser MKE 600
- Lavalier System: Sennheiser EW 112P G4, Rode Wireless GO II
- Handheld Mic: Shure SM58
- Field Recorder: Zoom H5 or H6
- Windscreens: Foam and furry deadcat covers
- Headphones: Audio-Technica ATH-M50X or Sony MDR-7506
Conclusion
Setting up audio equipment for outdoor videography requires careful planning, proper microphone selection, and strategic placement. Using shotgun or lavalier mics, protecting against wind, monitoring in real-time, and applying post-production adjustments ensures clear, professional dialogue recordings.
By combining the right gear, technique, and environmental awareness, outdoor shoots — whether in urban Chicago streets, parks, or waterfronts — can deliver cinematic-quality audio that enhances storytelling and production value. Clear dialogue captured outdoors elevates the entire video, creating a polished, professional experience for viewers.