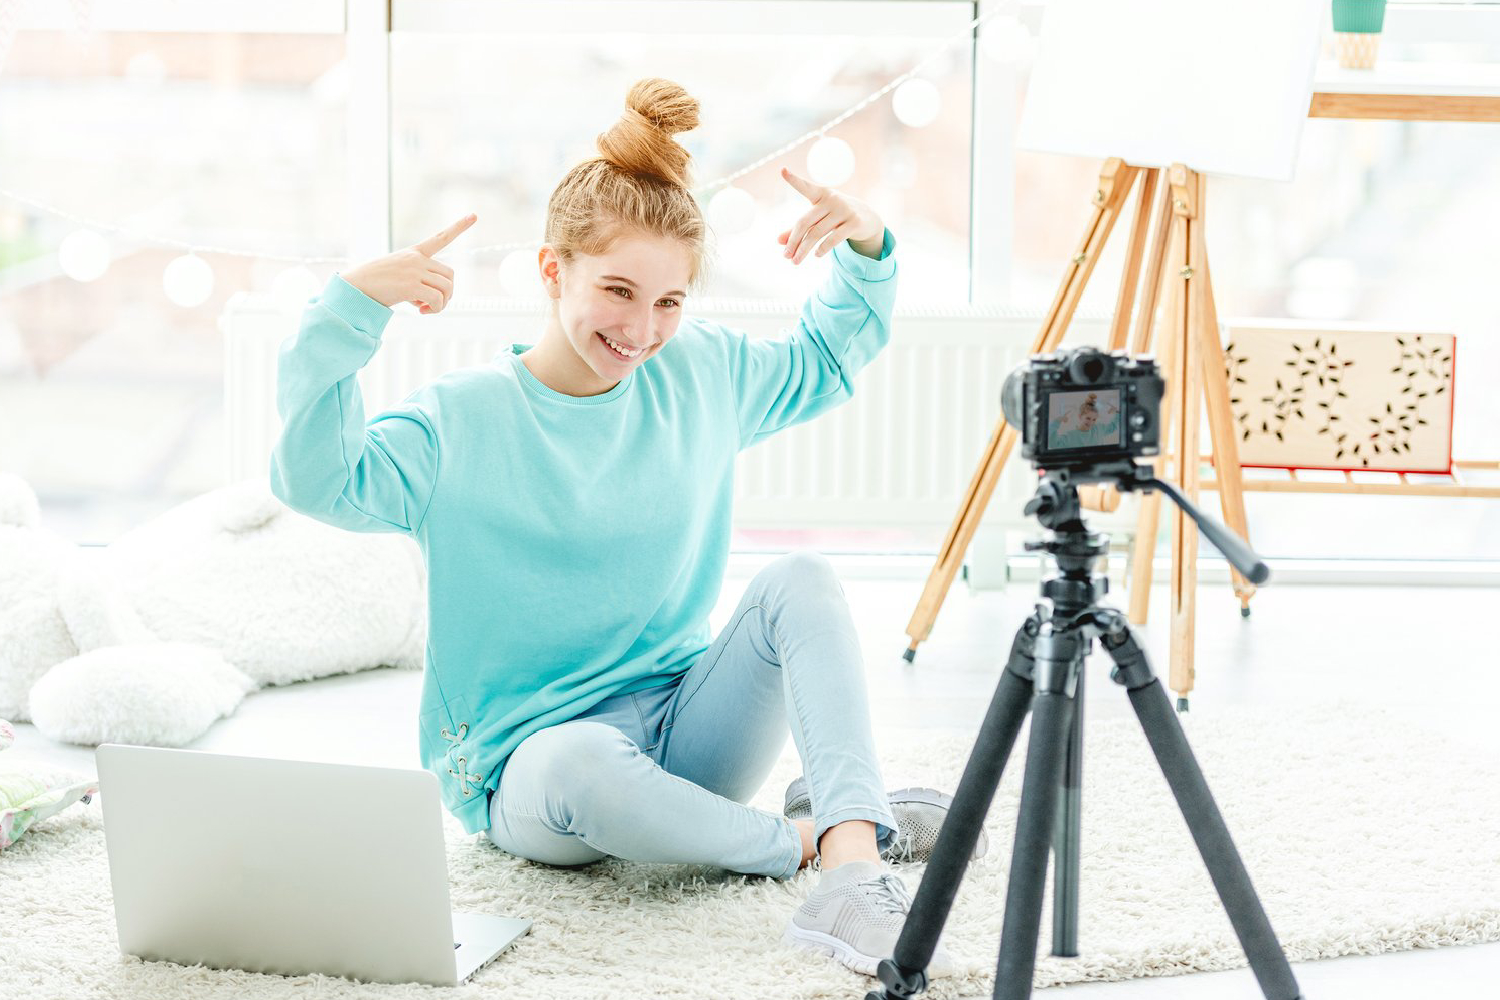
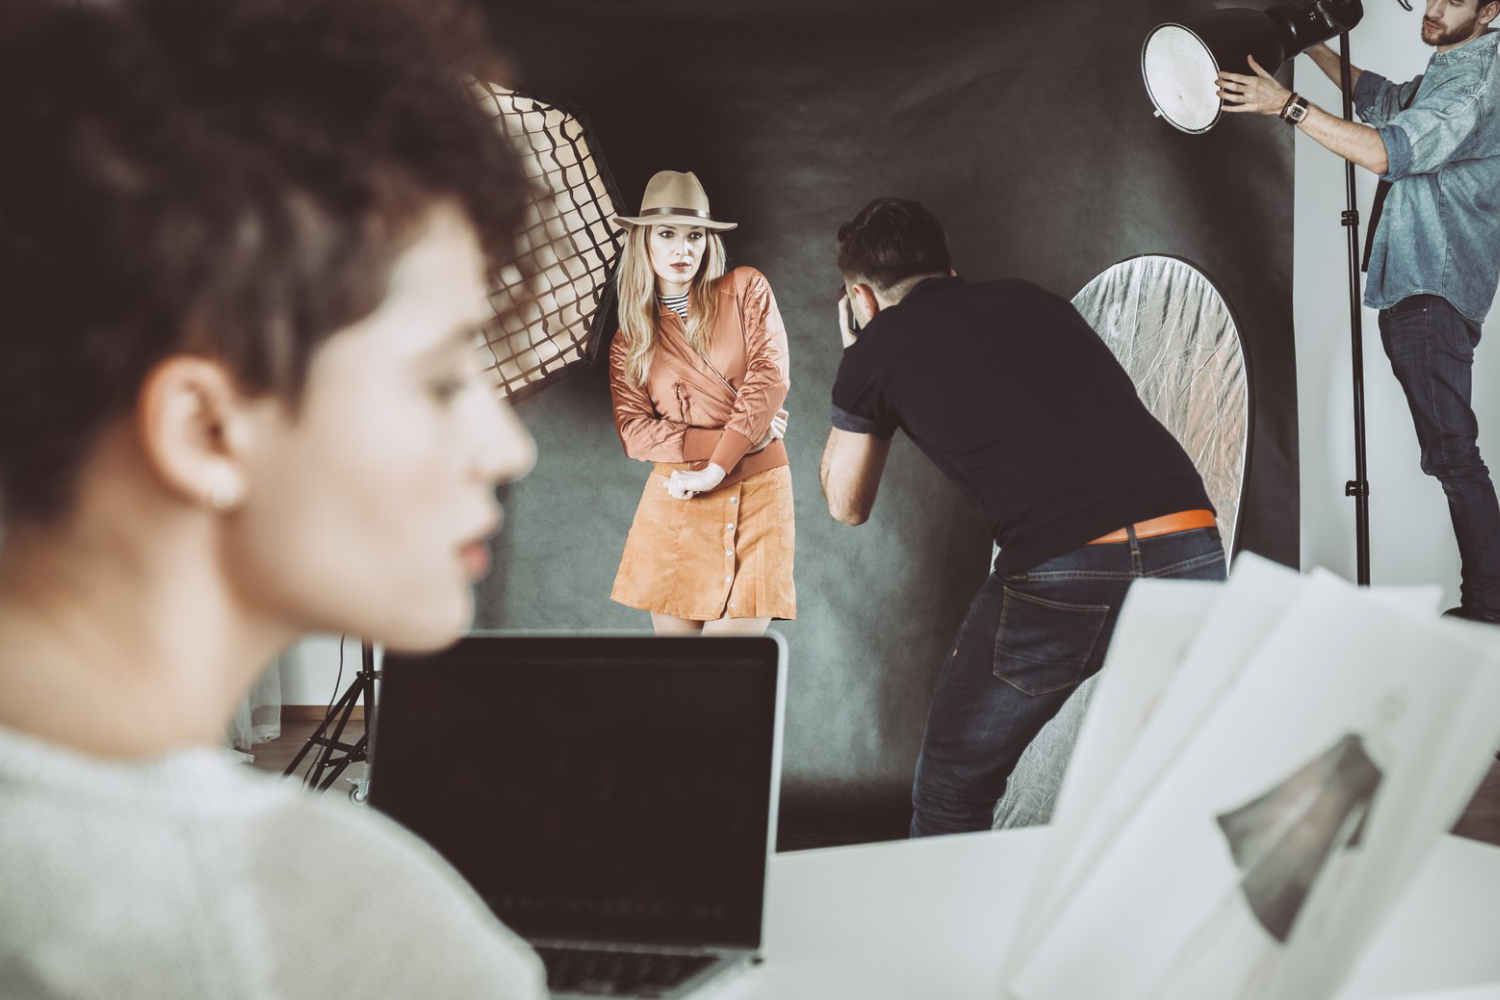
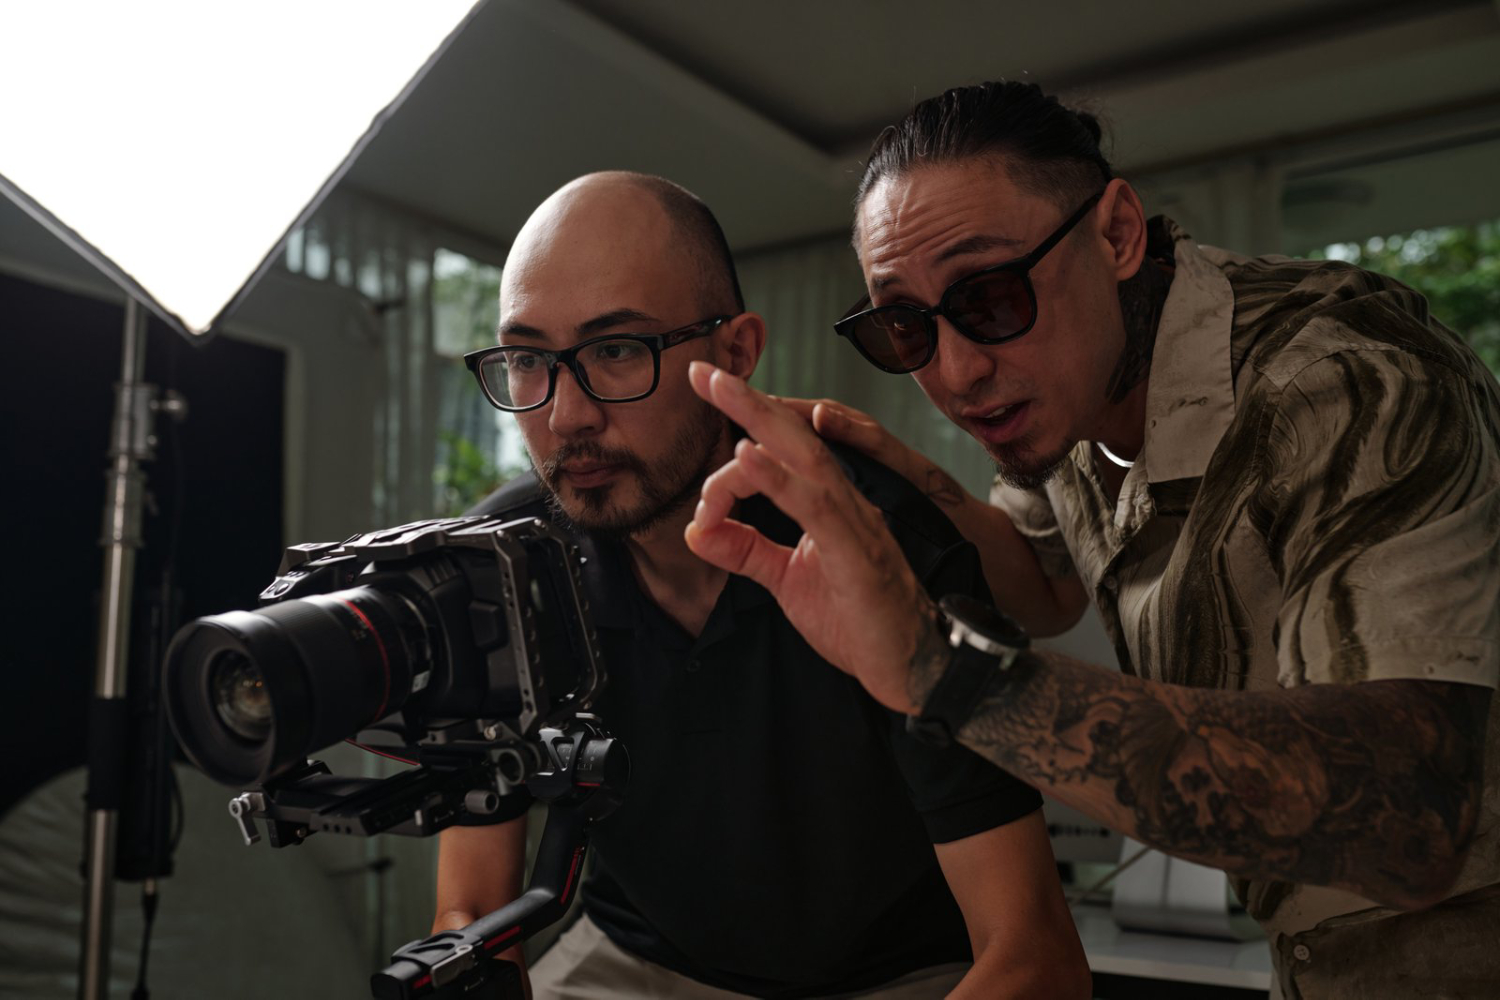
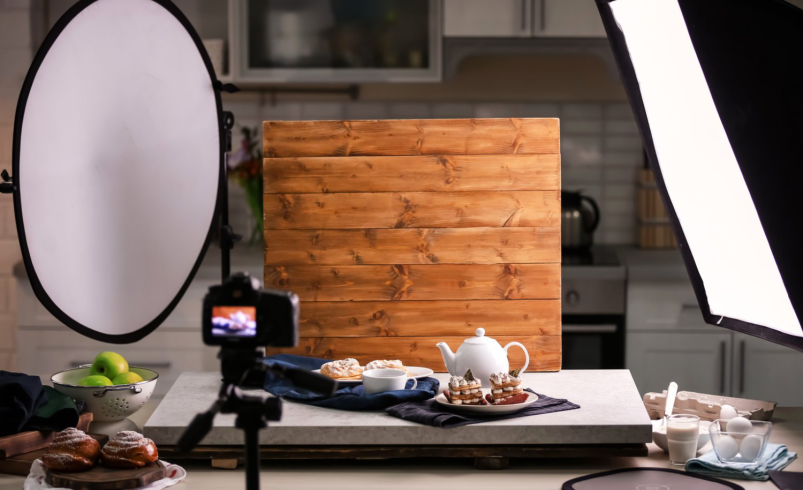
Lighting is one of the most critical aspects of professional videography. Proper lighting ensures your footage looks cinematic, highlights your subjects effectively, and minimizes post-production corrections. For videographers in Chicago, understanding how to set up lighting for indoor shoots can elevate your projects, even with limited equipment or budget.
This guide provides practical strategies, step-by-step setups, and creative ideas for achieving professional indoor lighting with DIY solutions.
1. Understand the Basics of Lighting
Before setting up lights, it’s essential to understand the key concepts:
- Three-Point Lighting: The classic setup includes a key light, fill light, and backlight (or hair light). This creates depth, dimension, and separation from the background.
- Key Light: The primary source of illumination, placed at a 45-degree angle to your subject. This light establishes the overall exposure and mood.
- Fill Light: Reduces shadows created by the key light. It should be softer and less intense than the key.
- Backlight: Adds separation from the background, creating a professional, three-dimensional look.
Mastering these principles allows you to work creatively and efficiently with any lighting setup.
2. Choose Your Light Sources
For DIY indoor shoots, you don’t need expensive studio lights. Common options include:
- LED Panels: Affordable, adjustable brightness, and low heat.
- Clamp Lights with Daylight Bulbs: Easy to find at hardware stores; can be diffused for softer light.
- Softboxes: Provide soft, even light for interviews or portrait-style videos.
- Ring Lights: Ideal for beauty videos, vlogs, or close-ups.
Selecting lights with adjustable intensity and color temperature ensures versatility.
3. Diffusing Light
Hard light can create harsh shadows and unflattering highlights. Diffusing softens the illumination:
- DIY Diffusers: Use white bedsheets, shower curtains, parchment paper, or frosted plastic over the light source.
- Softboxes or Umbrellas: Spread light evenly and reduce hotspots.
- Bounce Lighting: Reflect light off walls, ceilings, or foam boards to create softer illumination without direct exposure.
Diffusion creates natural-looking light, making your indoor shoots appear more professional.
4. Positioning Your Lights
Proper positioning is key to achieving cinematic results:
- Key Light Placement: Place at 45 degrees from the subject, slightly above eye level.
- Fill Light Placement: Opposite side of the key light, at lower intensity to soften shadows.
- Backlight Placement: Behind and above the subject, directed at the hair or shoulders for separation.
- Background Lighting: Optional, but can illuminate walls or props to add depth.
Experimenting with angles allows you to sculpt the scene to your desired aesthetic.
5. Color Temperature and White Balance
Matching light color is essential for consistent footage:
- Daylight (5600K): Mimics sunlight, ideal for neutral indoor shoots.
- Tungsten (3200K): Warm, yellow light, often used for cozy or cinematic interiors.
- Mixing Light Sources: Avoid combining different temperatures; it creates unnatural skin tones.
- Camera White Balance: Adjust your camera settings to match your lights for accurate color reproduction.
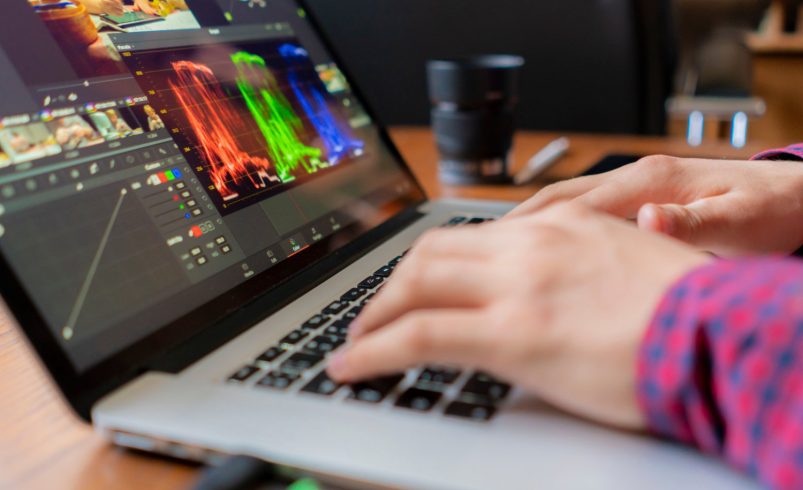
Consistent color temperature avoids time-consuming color correction later.
6. Using Practical Lights
Practical lights are visible light sources within the frame:
- Table Lamps, Floor Lamps, or String Lights: Serve as ambient light and enhance the scene aesthetically.
- Enhancing Depth: Practicals create a sense of realism and depth when properly balanced with key and fill lights.
- Creative Use: Position behind objects or subjects for highlights or mood effects.
Practicals can double as decorative elements and lighting sources.
7. DIY Reflectors
Reflectors bounce light into shadows and improve overall illumination:
- Materials: Use white foam boards, aluminum foil, or mirrors.
- Positioning: Place opposite the key light to fill in shadows.
- Adjusting Intensity: Move the reflector closer for stronger light, farther for subtle effects.
- Angle: Experiment with tilt to achieve the best balance and soft light distribution.
Reflectors are inexpensive tools that dramatically improve indoor lighting quality.
8. Avoid Common Mistakes
Some pitfalls to avoid for DIY indoor lighting:
- Uneven Lighting: Avoid mixing unbalanced light sources that create hotspots.
- Overexposed Subjects: Monitor exposure levels to prevent blown-out highlights.
- Harsh Shadows: Always use diffusion or reflectors to soften shadows on faces.
- Background Neglect: Don’t leave backgrounds too dark; add subtle back or fill lighting for separation.
Correcting mistakes during shooting saves significant post-production time.
9. Creative Lighting Techniques
Beyond traditional setups, consider creative approaches:
- Rim Lighting: Position a light behind the subject for a glowing edge effect.
- Low-Key Lighting: Focus on shadows and minimal light for moody, dramatic scenes.
- High-Key Lighting: Bright, evenly lit scenes for energetic or cheerful content.
- Accent Lighting: Highlight props, furniture, or set pieces to enhance storytelling.
Experimenting creatively can give your videos a unique signature look.
10. Using Light Modifiers
Light modifiers control and shape light for desired effects:
- Barn Doors: Control the spread and direction of light.
- Gels: Add color for stylistic or mood purposes.
- Grids: Focus light on specific areas, avoiding spill.
- Diffusion Fabric: Softens hard lights while maintaining control over direction.
Modifiers help maintain consistency and professionalism in your DIY setups.
11. Controlling Ambient Light
Ambient light can affect exposure and color:
- Windows and Natural Light: Use blackout curtains or diffuse sunlight to control intensity.
- Mixed Light Sources: Turn off unwanted lights to maintain consistent color temperature.
- Layer Lighting: Combine ambient light with your key, fill, and backlight strategically.
- Metering: Use your camera’s histogram to monitor light levels.
Controlling ambient light ensures a professional, clean look.
12. Lighting Small Spaces
Small rooms present unique challenges:
- Compact Lights: Use LED panels or small softboxes.
- Bounce Light: Reflect light off walls or ceilings to maximize space.
- Clutter Management: Avoid light spill on props or furniture that distracts from the subject.
- Angles: Adjust placement to prevent harsh shadows in tight corners.
Effective lighting in small spaces creates depth without overwhelming the frame.
13. Lighting Groups of People
Shooting interviews or group scenes requires uniform illumination:
- Even Key Lighting: Ensure all faces are evenly lit.
- Fill Light Balance: Adjust to prevent harsh shadows between people.
- Backlight Separation: Add subtle backlights to create depth in multi-person setups.
- Practical Ambient Light: Use lamps or ceiling lights to complement your main lights.
Properly lit groups look professional and cohesive on camera.
14. DIY Sound Considerations
Lighting is critical, but sound is equally important for indoor shoots:
- Minimize Echo: Use rugs, curtains, or foam panels to absorb sound reflections.
- Directional Microphones: Use shotgun mics to isolate subject audio.
- Placement: Keep microphones close to the subject without entering the frame.
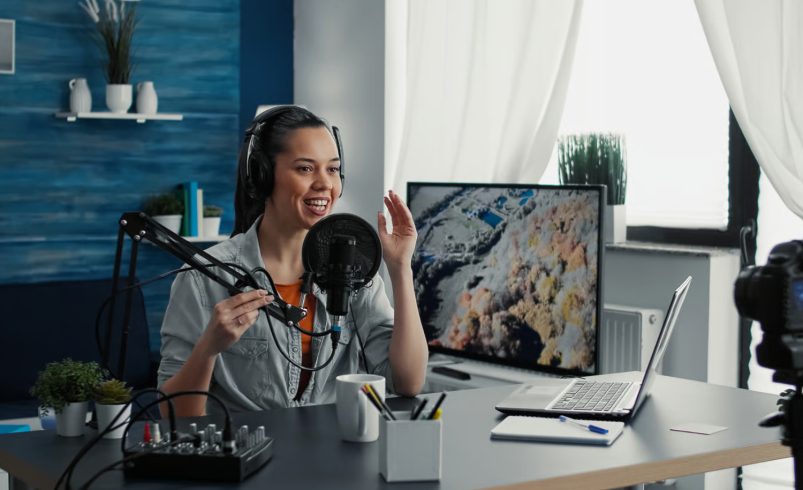
- Monitor Audio: Always use headphones to check clarity and ambient noise.
Good audio complements your lighting, resulting in high-quality production.
15. Combining Lighting and Camera Settings
Optimize your camera settings to match your DIY lighting:
- ISO: Keep as low as possible to reduce noise in dimly lit setups.
- Aperture: Adjust depth of field to highlight subjects and create cinematic separation.
- Shutter Speed: Match frame rate for smooth motion without flicker.
- White Balance: Align with your light color temperature for accurate skin tones.
Balancing camera and lighting ensures a polished final video.
16. Quick Setup Ideas for Small Projects
For quick indoor shoots:
- Single Key Light + Reflector: Fast, simple, and effective for interviews.
- Two-Light Setup: Key + Fill or Key + Backlight for balanced illumination.
- Practical Lamp Setup: Use room lamps and bounce light for a cozy, cinematic look.
- Ring Light: Ideal for beauty, vlogs, or tight spaces without much prep.
These setups work well for DIY projects without sacrificing quality.
17. Testing and Adjustments
Always test your lighting before recording:
- Check Exposure: Look for blown-out highlights or shadows.
- Adjust Angles: Move lights slightly to improve contours and subject definition.
- Monitor Through Camera: What looks good to the eye may differ on camera.
- Take Test Shots: Small clips help identify issues before shooting the full scene.
Iterative testing saves time and ensures professional results.
18. Creative DIY Enhancements
Enhance indoor lighting creatively:
- Colored Gels: Create mood or thematic accents.
- Bounce Boards: Add texture or fill specific areas with light.
- Practical Accent Lighting: Lamps or fairy lights for visual interest.
- Shadow Play: Use objects or cutouts to create dynamic shadows.
Creative enhancements can give your videos a cinematic, high-production feel.
19. Safety Tips
DIY setups require attention to safety:
- Avoid Overheating: Use LED lights or low-heat bulbs.
- Secure Stands: Ensure tripods and clamps are stable to prevent accidents.
- Cable Management: Prevent tripping hazards with organized cords.
- Fire Safety: Keep flammable materials away from lights.
Safe setups protect both your crew and equipment.
20. Conclusion
Indoor lighting is a cornerstone of professional videography. By understanding basic principles, utilizing DIY equipment, and combining creativity with technical knowledge, Chicago videographers can achieve cinematic results without expensive studio gear.
From three-point lighting to creative shadows, reflectors, and practical lights, these DIY setups provide versatile, professional solutions for interviews, events, social media content, or cinematic projects. Paired with proper camera settings and sound management, your indoor video shoots can rival high-end studio productions.