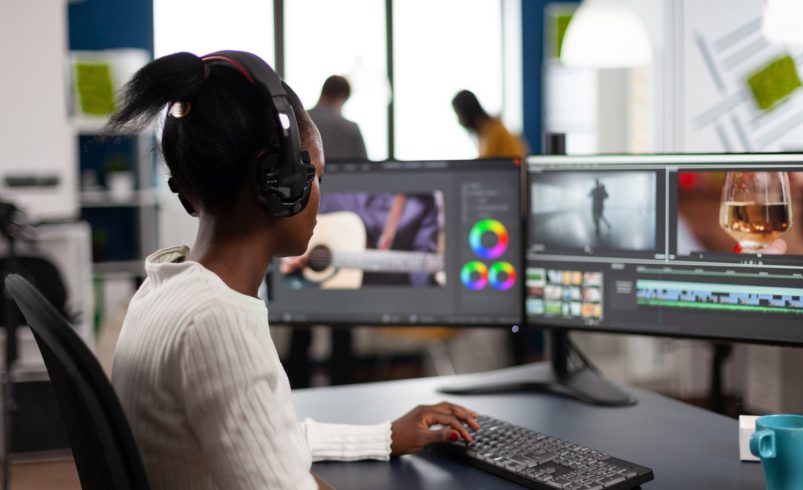
Color correction is a foundational step in post-production that ensures your footage looks natural, balanced, and visually appealing. Unlike color grading, which adds style and mood, color correction fixes exposure, white balance, and color inconsistencies. Proper correction makes your videos look professional and prepares them for creative grading. Whether you’re filming in Chicago’s vibrant streets or controlled indoor environments, mastering color correction elevates your work significantly.
1. Start with White Balance
- Correct white balance to ensure accurate colors.
- Adjust temperature (warm vs. cool) and tint (green vs. magenta).
- Keep skin tones natural and avoid unnatural color casts.
Example: Correcting white balance in an indoor café shoot in Chicago prevents yellowish tones from artificial lighting.
2. Adjust Exposure and Contrast
- Ensure your footage isn’t too dark or overexposed.
- Increase contrast to make visuals pop without losing detail.
- Check histogram to avoid clipping highlights or crushing shadows.
Example: Adjusting exposure for a Chicago sunset timelapse highlights the sky while retaining city details.
3. Correct Color Balance
- Use RGB color controls to balance shadows, midtones, and highlights.
- Reduce color casts caused by lighting conditions.
- Apply subtle adjustments to avoid unnatural tones.
Example: Outdoor footage in Chicago’s parks may have greenish tints from surrounding trees that need correction.
4. Fix Saturation Levels
- Adjust overall saturation to maintain natural colors.
- Avoid oversaturation, which can make footage look unrealistic.
- Fine-tune individual colors for consistency across shots.
Example: A Chicago food vlog benefits from slightly boosted reds and yellows to make dishes look appetizing without overwhelming the scene.
5. Use Scopes for Precision
- Waveform monitors and vectorscopes help measure brightness, contrast, and color balance.
- Ensure your skin tones fall within the correct vector range.
- Check highlights and shadows for consistent exposure.
Example: Using scopes ensures footage from different Chicago locations matches visually in multi-scene projects.
6. Match Multiple Clips
- Ensure consistency between shots filmed at different times or locations.
- Use adjustment layers to apply corrections across sequences.
- Fine-tune each clip to avoid jarring visual differences.
Example: Matching indoor interview shots with outdoor B-roll in Chicago maintains a seamless viewing experience.
7. Avoid Over-Correction
- Small adjustments often work better than extreme changes.
- Keep skin tones and natural colors intact.
- Step back frequently and review footage full-screen to spot issues.
Example: Correcting a street performance video in Chicago without overexposing or altering ambient light preserves realism.
8. Export with Color Integrity
- Choose the correct color space and format for your project.
- Ensure consistency across platforms (YouTube, social media, TV).
- Preview exports on multiple devices to maintain visual quality.
Example: Exporting a Chicago travel vlog in Rec. 709 ensures colors appear correctly on most screens.
Conclusion
Color correction is essential for producing professional, polished videos. By adjusting white balance, exposure, contrast, color balance, and saturation, and ensuring consistency across clips, your footage achieves a natural and visually appealing look. Combined with scopes and careful review, proper color correction lays the foundation for creative grading and cinematic storytelling. Whether capturing Chicago’s cityscapes, events, or vlogs, mastering color correction ensures your videos look professional, cohesive, and ready for audiences.