Framing is one of the most essential elements in videography. It dictates how subjects and environments appear on screen, guiding viewers’ attention and creating visual impact. Proper framing not only enhances aesthetics but also strengthens storytelling, making videos feel polished and professional. Whether capturing urban life in Chicago, cinematic sequences, or intimate interviews, mastering framing techniques ensures every shot communicates clearly and effectively.
1. Rule of Thirds in Framing
The rule of thirds divides the frame into nine sections, placing subjects along lines or intersections. This creates balance and naturally draws the viewer’s eye.
Tips:
- Use the camera grid to align subjects.
- Avoid centering subjects unless it serves a purpose.
- Combine with leading lines to enhance depth and perspective.
Example: Framing a street musician along the vertical grid line in Chicago’s Wicker Park adds balance while leaving space for background context.
2. Headroom and Lead Room
Proper headroom ensures subjects don’t appear cramped at the top of the frame, while lead room (space in the direction of movement) provides visual comfort.
Tips:
- Leave a small space above the subject’s head for balance.
- Provide more space in front of moving subjects to convey motion.
- Avoid cutting off limbs or objects awkwardly.
Example: Filming a cyclist along the Chicago Riverwalk with ample lead room communicates movement and flow.
3. Natural Frames
Using elements in the environment to frame subjects adds depth and focus. Windows, arches, trees, or railings can create a “frame within a frame.”
Tips:
- Position subjects centrally within the natural frame.
- Layer foreground, midground, and background for depth.
- Avoid distracting objects that compete with the subject.
Example: A performer framed by Chicago Theatre’s marquee draws attention while providing context.
4. Symmetry and Patterns
Symmetrical compositions and repeating patterns create visually pleasing shots. Architecture, streets, and bridges are ideal for this technique.
Tips:
- Align frames carefully to highlight symmetry.
- Use reflections in water or glass for mirrored effects.
- Break symmetry occasionally for artistic emphasis.
Example: Filming reflections of Chicago skyscrapers on the Chicago River adds a professional and cinematic feel.
5. Depth and Layers
Layering foreground, midground, and background elements enhances visual depth and realism.
Tips:
- Include objects or textures in the foreground.
- Keep subjects in the midground for clarity.
- Use backgrounds to provide context without distracting from the main subject.
Example: Capturing a wedding ceremony in Lincoln Park with trees in the foreground, the couple in the midground, and the skyline in the background creates cinematic depth.
6. Negative Space
Negative space emphasizes the subject, creates balance, and conveys mood.
Tips:
- Leave empty areas around subjects for breathing room.
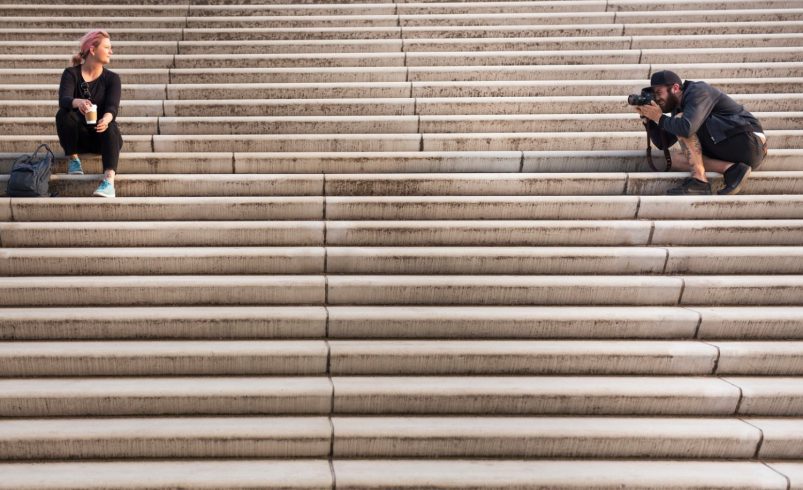
- Use negative space to highlight isolation, scale, or movement.
- Combine with the rule of thirds for stronger composition.
Example: Filming a solo skateboarder in a wide plaza uses negative space to emphasize motion and focus.
7. Leading Lines and Angles
Incorporating natural lines guides viewers’ attention toward the subject. Roads, railings, or architectural elements work well.
Tips:
- Align subjects along converging lines.
- Use diagonal lines for dynamic composition.
- Experiment with perspective to add visual interest.
Example: A pedestrian on Chicago’s Riverwalk framed by the railing lines draws focus and adds depth.
8. Close-Ups and Headshots
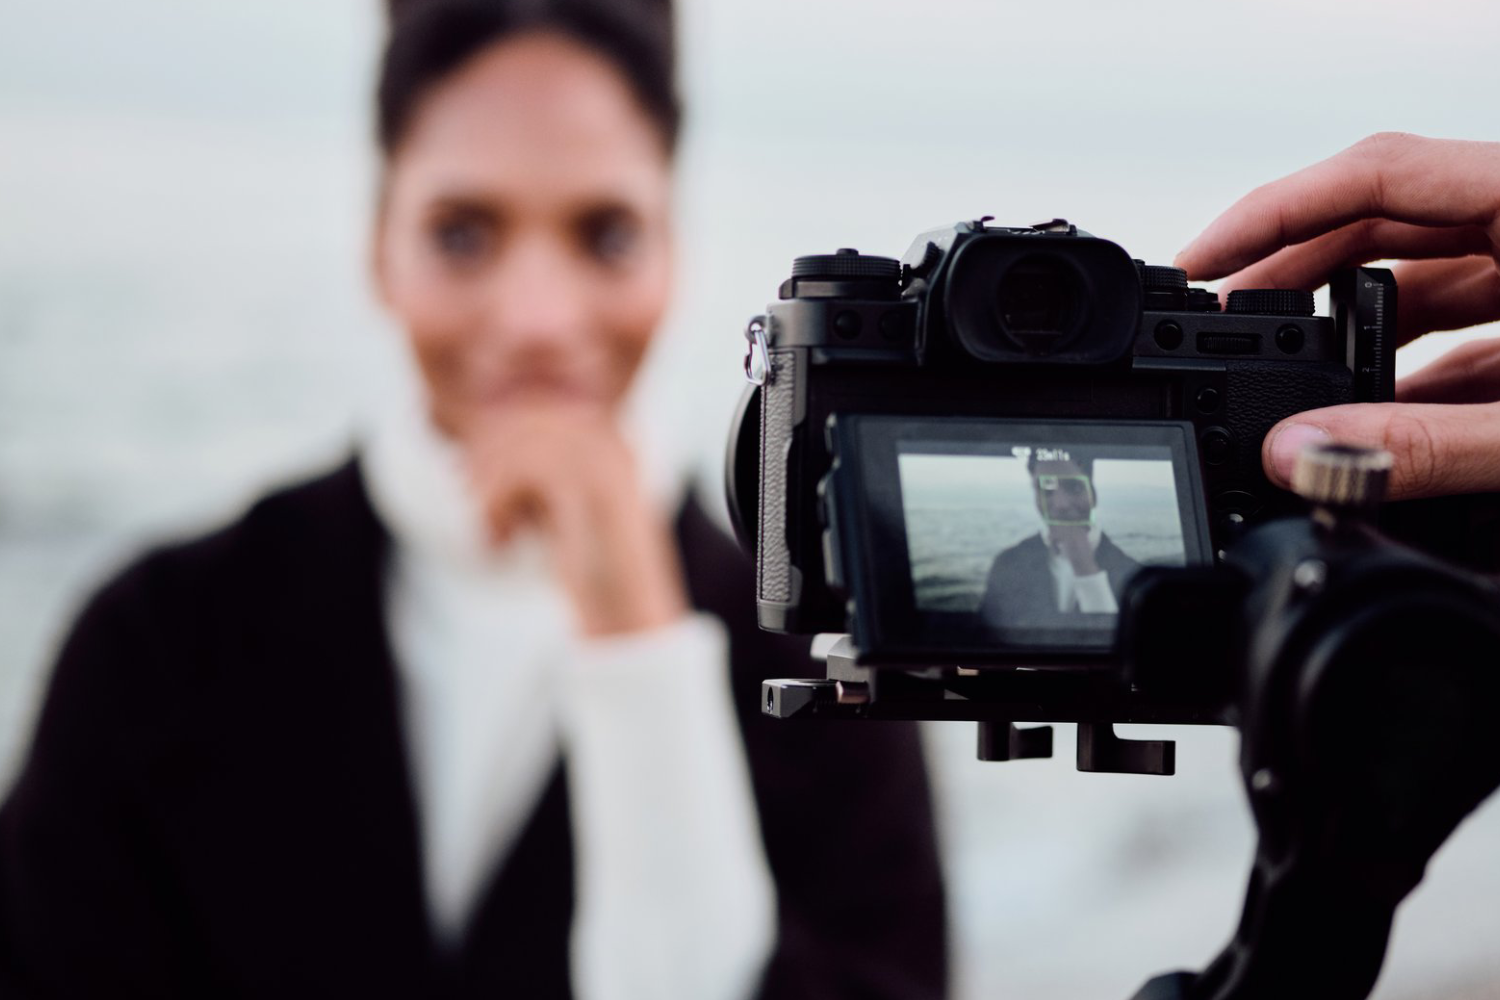
Tightly framed shots highlight emotions, textures, or details.
Tips:
- Ensure the subject is sharp and properly lit.
- Avoid cutting off essential parts of the subject.
- Pair with shallow depth of field to isolate focus.
Example: Capturing a chef’s hands while preparing food emphasizes skill and detail.
9. Wide Shots for Context
Wide shots establish location and provide context. They are essential for scene-setting and transitions.
Tips:
- Include recognizable landmarks when filming outdoors.
- Use wide framing to capture group interactions or landscapes.
- Combine with movement to add cinematic quality.
Example: A wide shot of the Chicago skyline at sunset sets the scene for a city lifestyle video.
10. Combining Techniques for Professional Results
Professional-looking videos often combine multiple framing strategies:
- Rule of thirds + leading lines + negative space.
- Natural frames + depth layering.
- Symmetry + wide establishing shots.
Experimentation and practice help determine which combinations work best for specific scenes.
Conclusion
Mastering framing techniques is essential for producing professional, visually engaging videos. By using the rule of thirds, natural frames, symmetry, depth, and negative space, videographers can guide viewer attention, enhance storytelling, and elevate the cinematic quality of their work. Chicago’s urban landscapes, cultural venues, and scenic parks provide endless opportunities to practice and refine these skills, helping your footage stand out in both style and storytelling.