Essential Lighting Tips for Indoor Videography
- April 6, 2026
- 0
Lighting is one of the most important elements in videography, especially indoors. Proper lighting not only ensures your footage is clear but also sets the mood, enhances color,


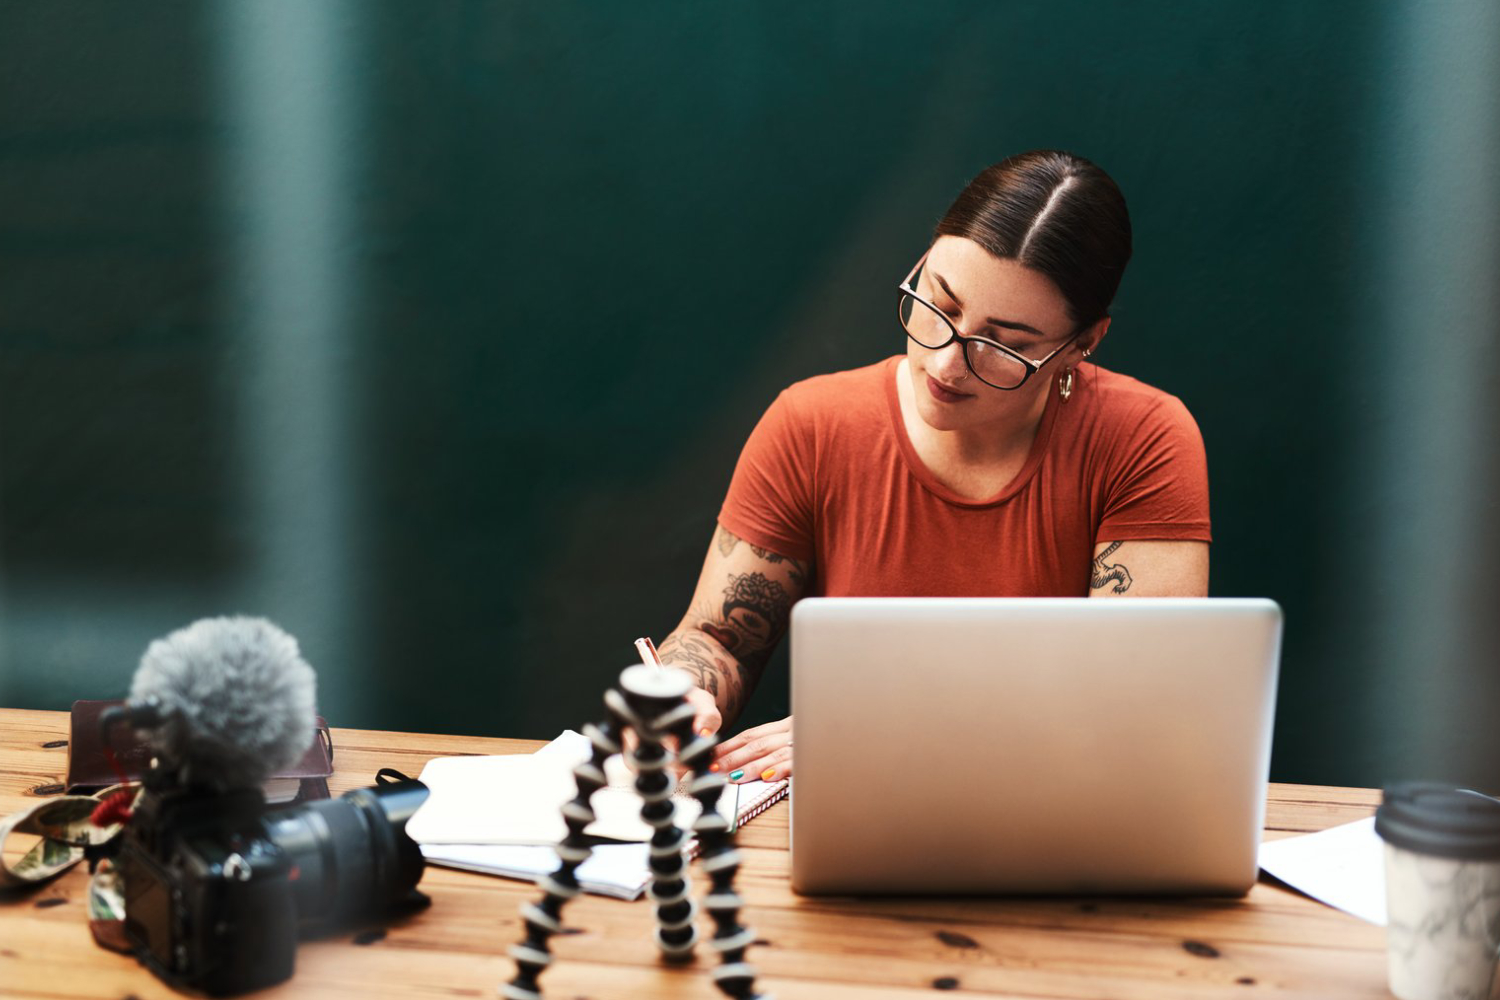
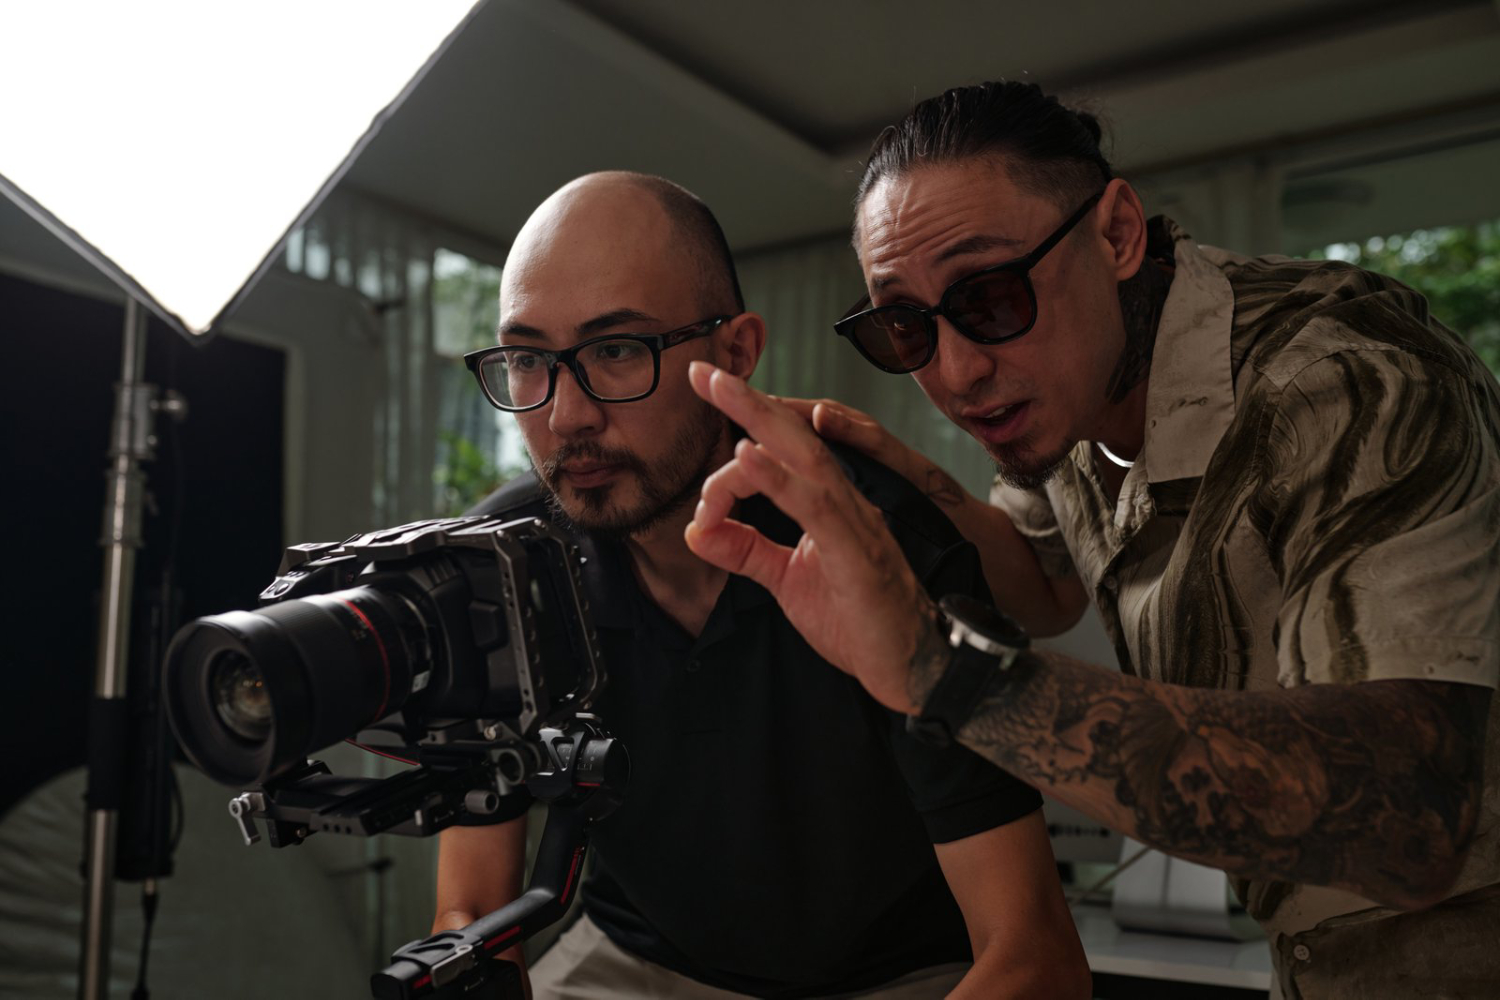
Lighting is one of the most important elements in videography, especially indoors. Proper lighting not only ensures your footage is clear but also sets the mood, enhances color,
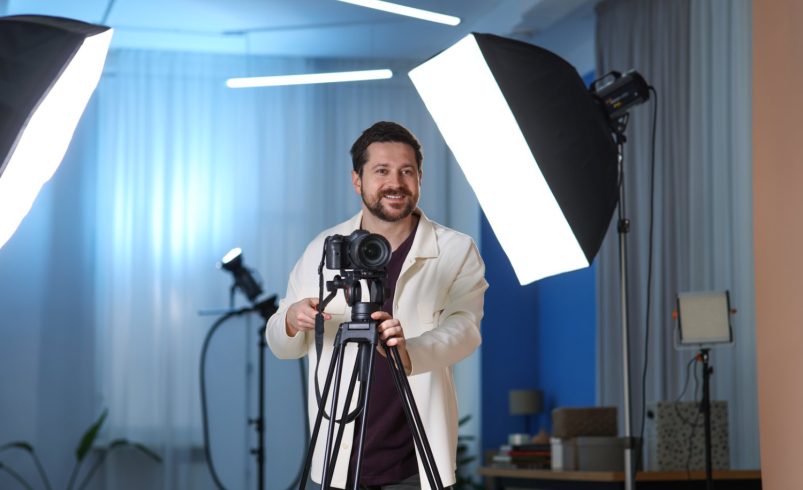
Lighting is one of the most important elements in videography, especially indoors. Proper lighting not only ensures your footage is clear but also sets the mood, enhances color, and highlights key subjects. Indoor environments often have limited or mixed lighting, making it crucial to understand how to control light sources effectively.
Whether shooting interviews, events, or cinematic scenes in Chicago homes, offices, or studios, mastering indoor lighting can elevate your videos from amateur to professional. This guide covers essential tips for indoor videography, helping you achieve balanced, visually appealing footage every time.
Before filming, evaluate the space:
Example: A small studio apartment in Chicago may have bright window light on one side but dim corners elsewhere—adjust lighting to balance the scene.
Harsh lights can create unflattering shadows and highlights. Soft lighting spreads evenly across the subject, producing a natural, cinematic look.
Tips:
Example: A video interview in a Chicago loft will look more professional when the main light is softened and bounced off a white wall.
Indoor lighting often combines natural and artificial light, which can cause inconsistent color temperatures. Balancing these sources ensures uniform footage.
Tips:
Example: Filming a corporate video in a Chicago office may require turning off fluorescent lights and supplementing with LED panels for a balanced look.
Light placement affects depth, mood, and focus.
Tips:
Example: Interviewing a chef in a Chicago kitchen with the key light at an angle highlights facial features while avoiding harsh shadows.
Reflectors redirect light to fill shadows or illuminate details. They are inexpensive, portable, and highly effective.
Tips:
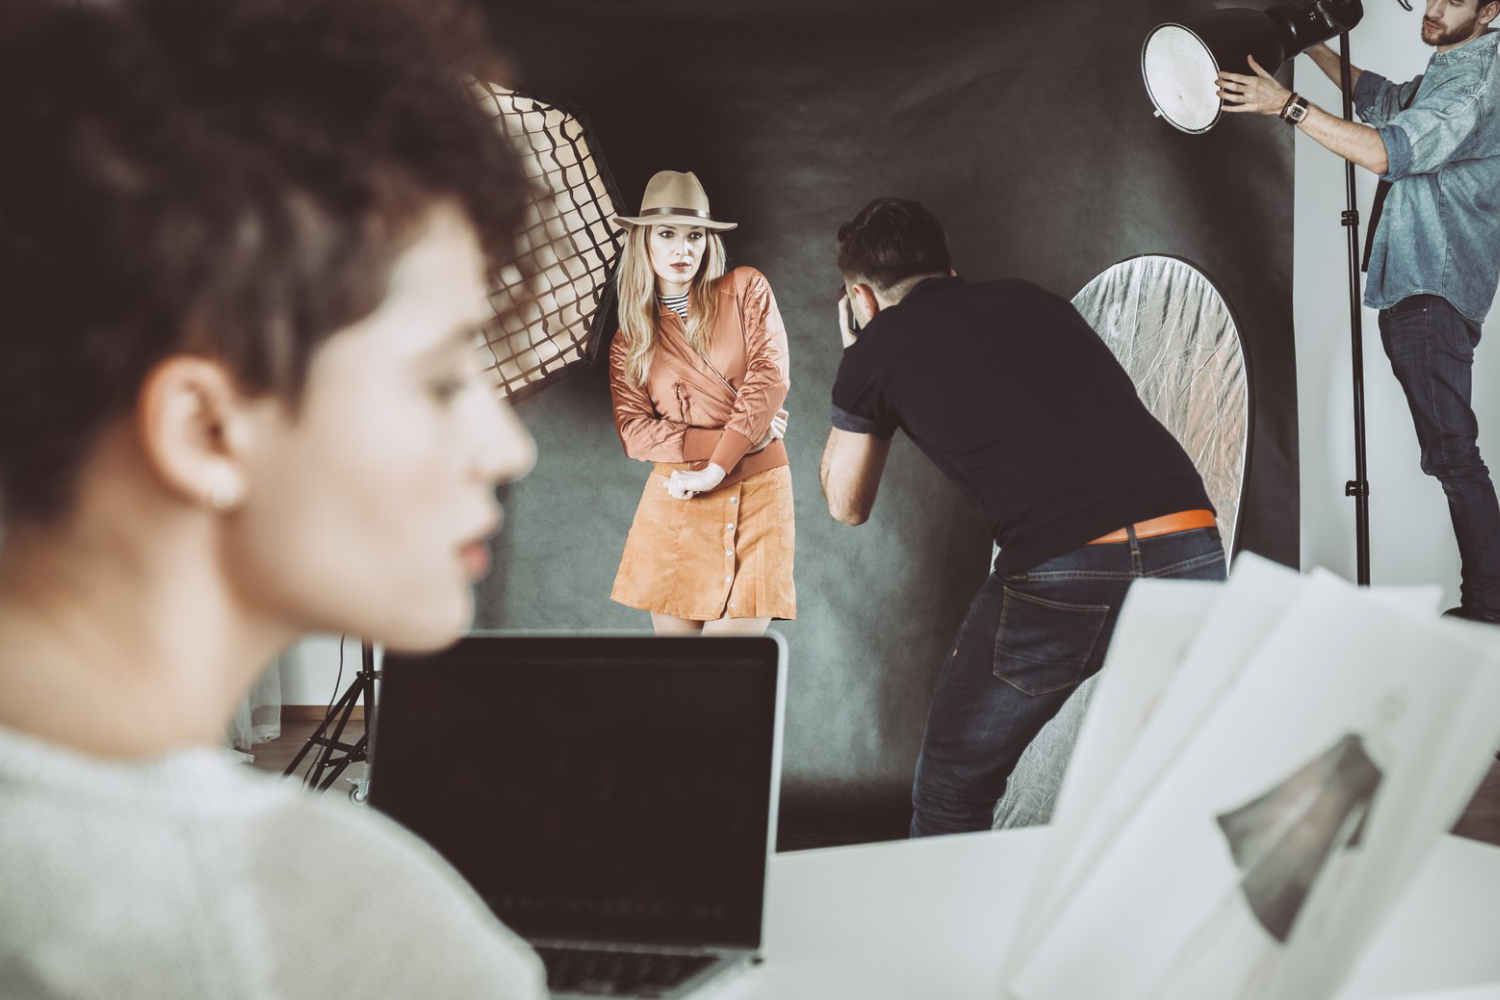
Example: A fashion video indoors can use a white poster board to bounce natural window light onto the model’s face.
Excessive shadows or bright spots can distract viewers. Learn to shape light for clarity and visual appeal.
Tips:
Example: Shooting a Chicago living room vlog may require diffusing ceiling light and adding side lighting to eliminate harsh shadows on the subject.
Camera settings complement lighting techniques:
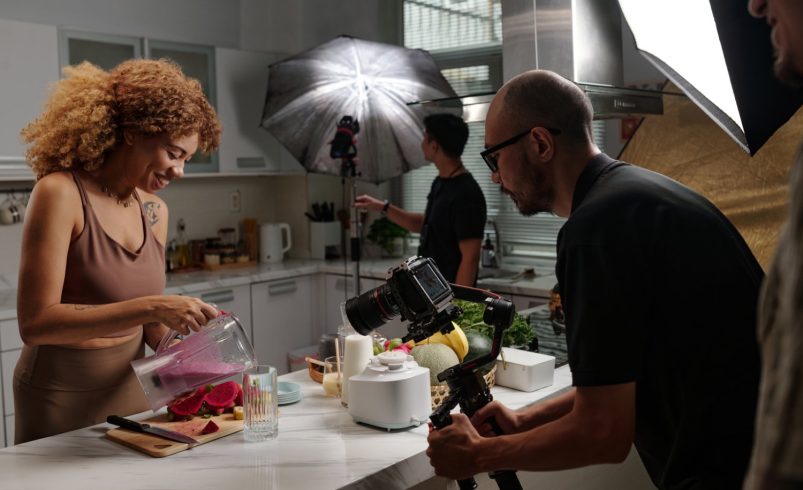
Example: Filming a cooking tutorial indoors requires balancing camera settings with LED panel lighting to maintain natural colors and detail.
Indoor lighting varies with each space, so experimentation is key:
Example: Testing various setups in a Chicago studio ensures smooth, professional results during the actual shoot.
Indoor videography requires thoughtful lighting techniques to achieve professional-quality footage. By assessing your environment, using soft and balanced light, strategically positioning lights, and controlling shadows, you can create visually appealing videos that capture attention. Mastering these indoor lighting tips will elevate your work, whether filming interviews, vlogs, or cinematic projects in Chicago or anywhere else. Continuous practice and experimentation are key to understanding light and transforming indoor spaces into cinematic sets.