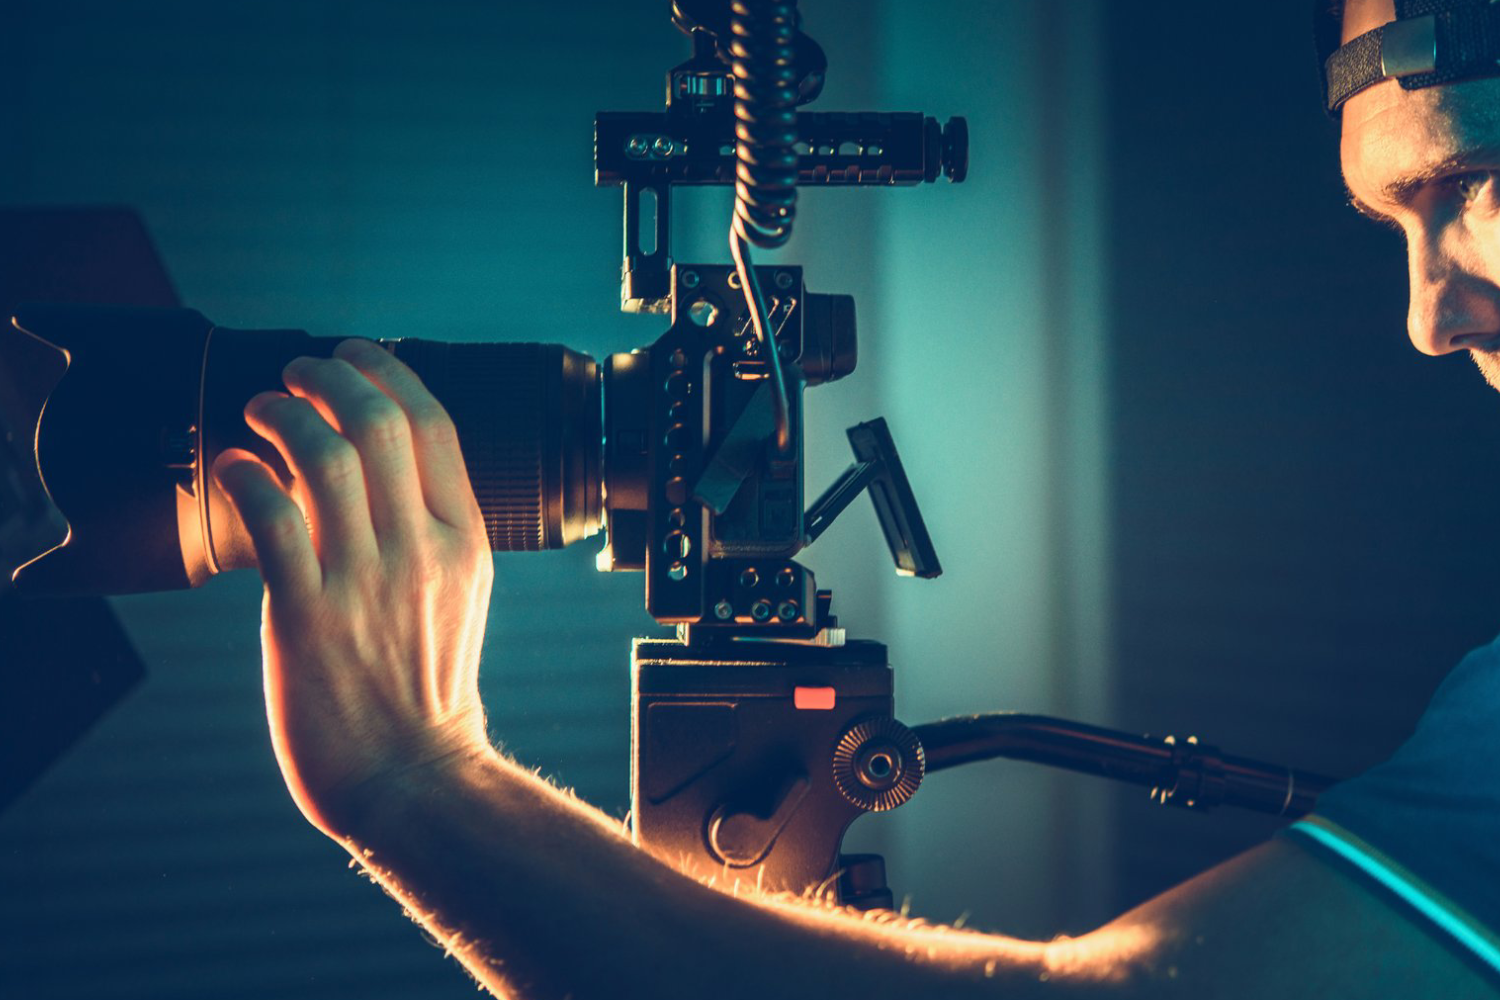
The 3-point lighting setup is a fundamental technique used in videography to create balanced, professional-looking videos. By controlling the key, fill, and backlight, you can illuminate your subject effectively while adding depth, dimension, and cinematic quality. This setup is ideal for interviews, tutorials, vlogs, and indoor shoots, providing consistent results in controlled environments.
Whether you’re filming in a Chicago studio, office, or home, mastering the 3-point lighting setup ensures your subjects are well-lit, shadows are managed, and your footage looks polished. This guide explains the components, placement, and practical tips for beginners.
1. Key Light – The Main Light
The key light is the primary source of illumination, determining the subject’s shape, mood, and prominence in the frame.
Placement Tips:
- Position at a 45-degree angle from the subject’s face.
- Slightly above eye level for natural-looking shadows.
- Adjust intensity depending on the desired mood (bright for upbeat, soft for cinematic).
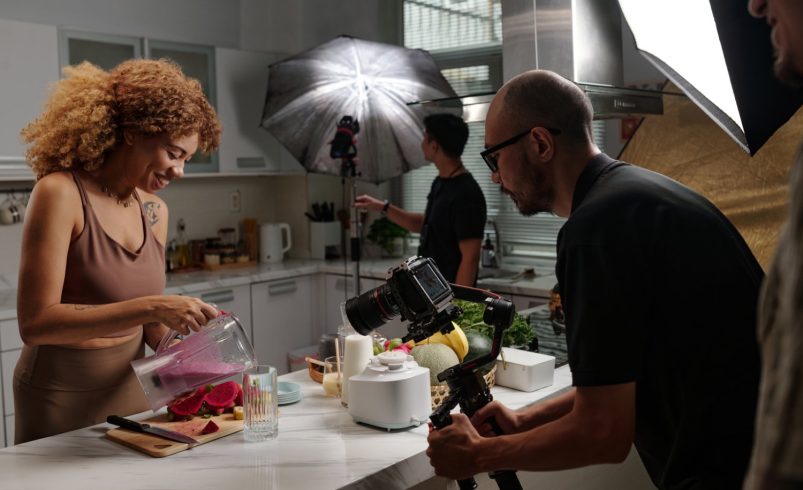
Example: A Chicago chef tutorial in a kitchen can use a bright key light angled to highlight facial expressions and hands while cooking.
2. Fill Light – Soften Shadows
The fill light reduces harsh shadows created by the key light, providing balance and clarity.
Placement Tips:
- Place on the opposite side of the key light, slightly lower in intensity.
- Use softboxes or diffusers for gentle illumination.
- Avoid matching the key light’s intensity exactly; shadows create depth.
Example: Filming an interview in a Chicago office uses a fill light to soften shadows on the subject’s face, making the shot appear natural and professional.
3. Back Light – Add Depth
The back light (or hair light) separates the subject from the background, adding depth and preventing a flat appearance.
Placement Tips:
- Position behind the subject, aimed at the hair or shoulders.
- Adjust brightness so it highlights edges without overpowering the subject.
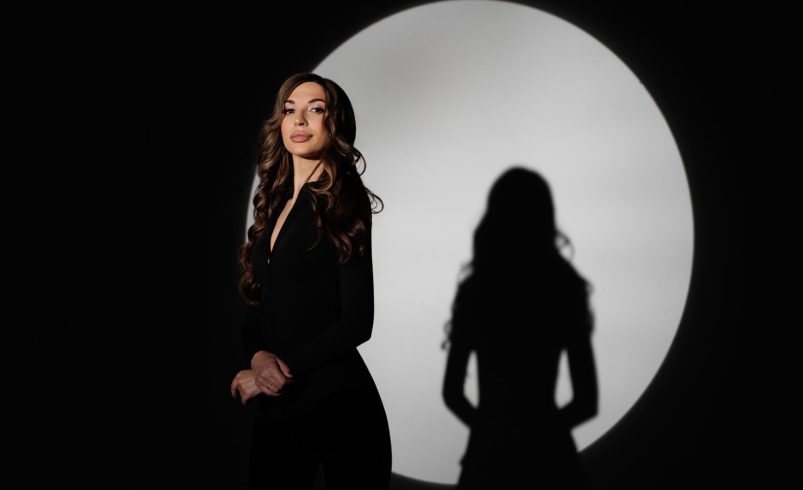
- Can create dramatic silhouettes if desired.
Example: A YouTube cooking video in a sunlit Chicago loft uses backlighting to accentuate the subject against the background, giving a cinematic look.
4. Optional Enhancements
- Background Light: Illuminate the backdrop for contrast and focus.
- Practical Lights: Incorporate lamps or neon signs as part of the scene for creative effects.
- Modifiers: Use softboxes, grids, or umbrellas to control light spread.
Example: In a Chicago café interview, a background lamp enhances ambiance while maintaining subject focus.
5. Tips for Beginners
- Always test lighting before shooting; small adjustments can have a big impact.
- Maintain consistent color temperature (use daylight or tungsten settings).
- Use reflectors for minor corrections instead of adding extra lights.
- Keep shadows soft and avoid harsh contrasts unless intentional.
6. Common Mistakes to Avoid
- Key light too harsh, creating unflattering shadows.
- Fill light too strong, flattening the subject.
- Backlight too bright, causing lens flares or overexposure.
- Ignoring room reflections that alter color temperature.
7. Benefits of 3-Point Lighting
- Creates professional-quality, well-balanced videos.
- Adds depth and dimension to subjects.
- Provides control over mood and focus.
- Works for interviews, product videos, tutorials, and cinematic projects.
Conclusion
The 3-point lighting setup is essential for any beginner videographer aiming to produce professional-looking footage. By mastering key, fill, and backlight placement, you can control shadows, enhance depth, and create cinematic visuals. Practicing this technique in various indoor settings, including Chicago studios, offices, and homes, allows you to understand lighting behavior and consistently improve your video quality. With patience and experimentation, 3-point lighting transforms ordinary shots into polished, visually compelling videos.